
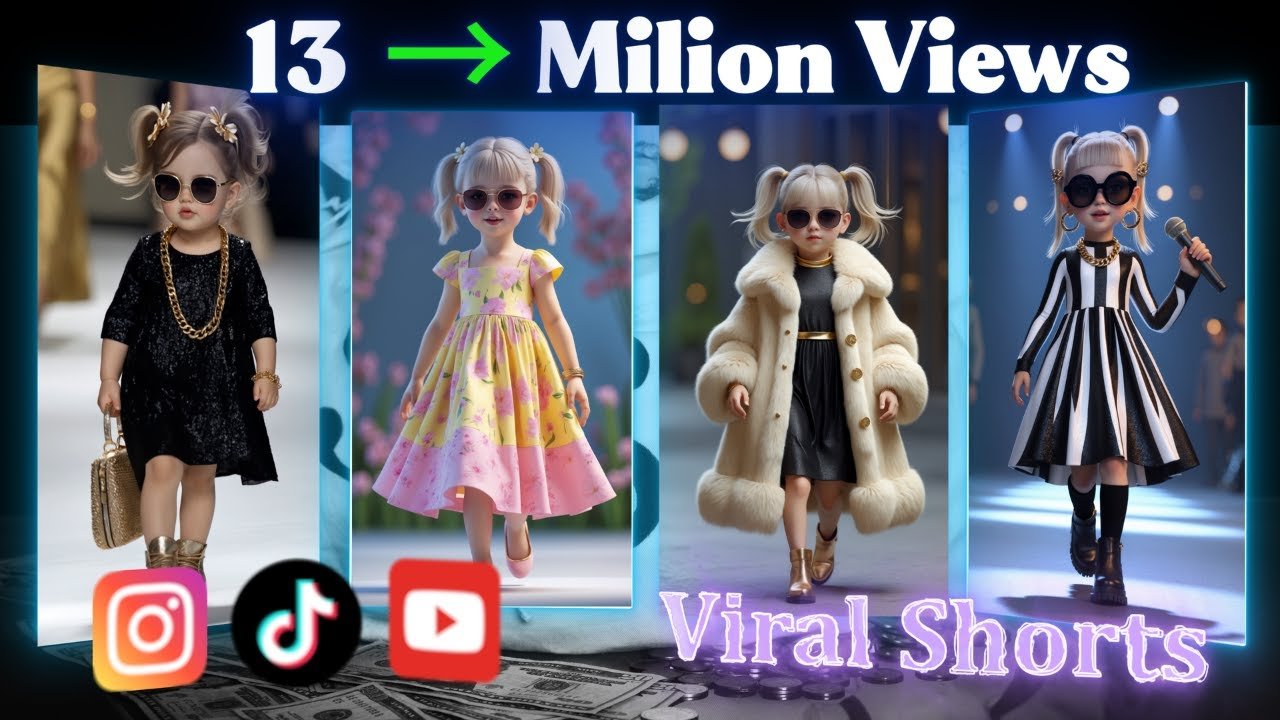
Creating high-quality AI-generated images and videos is easier than ever with the right tools. Follow this step-by-step guide to transform images into stunning video content using ChatGPT, Leonardo AI, and KLING AI!
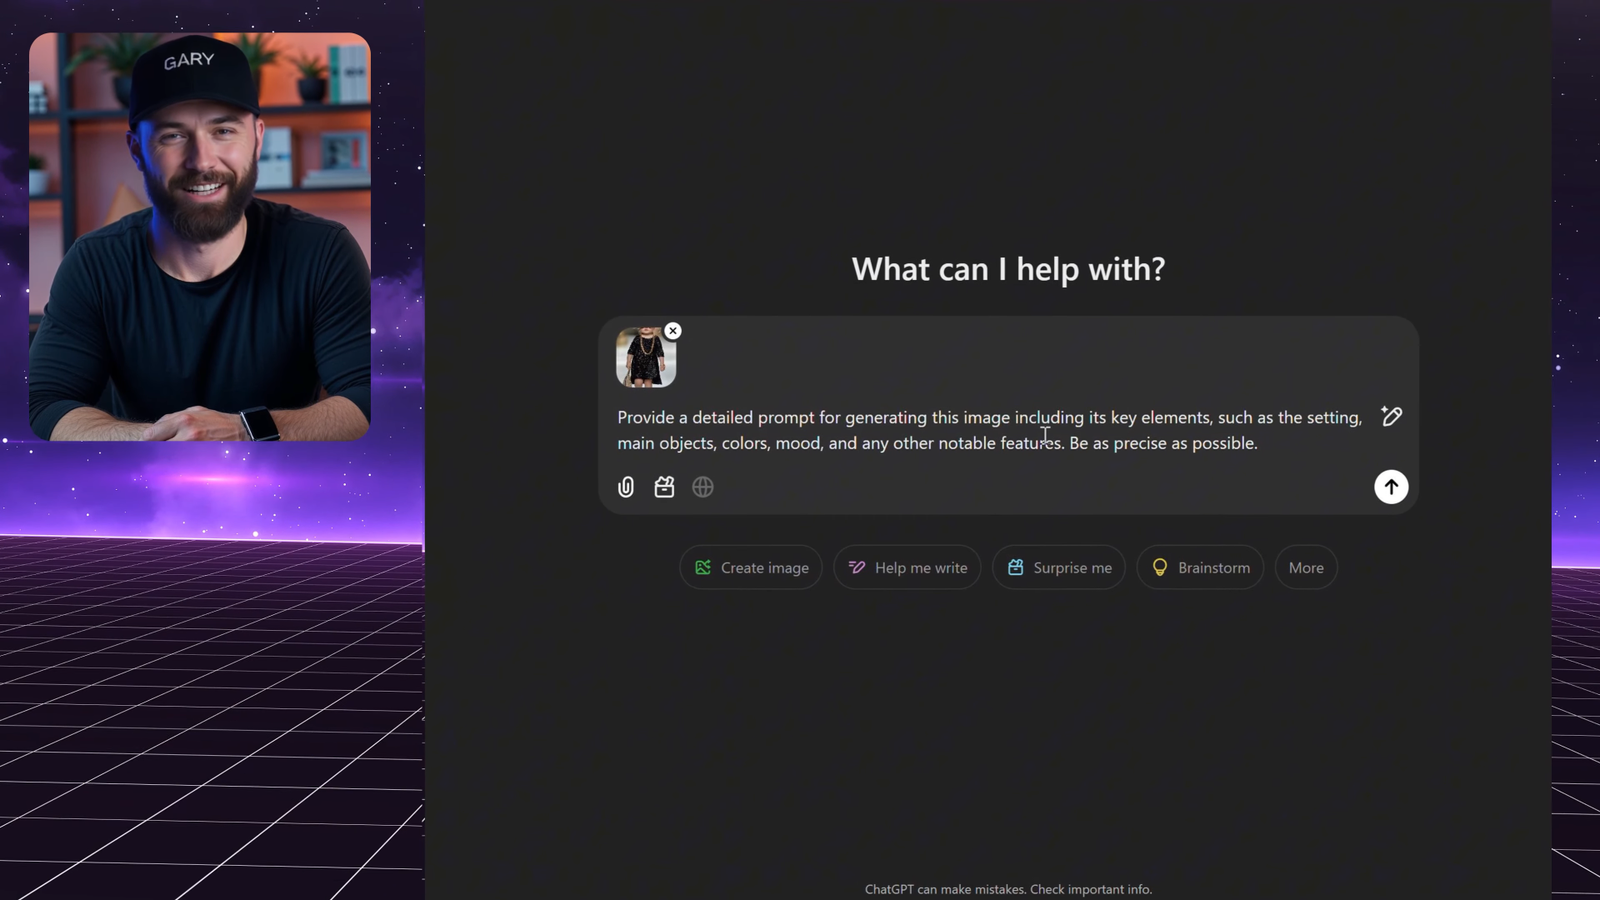
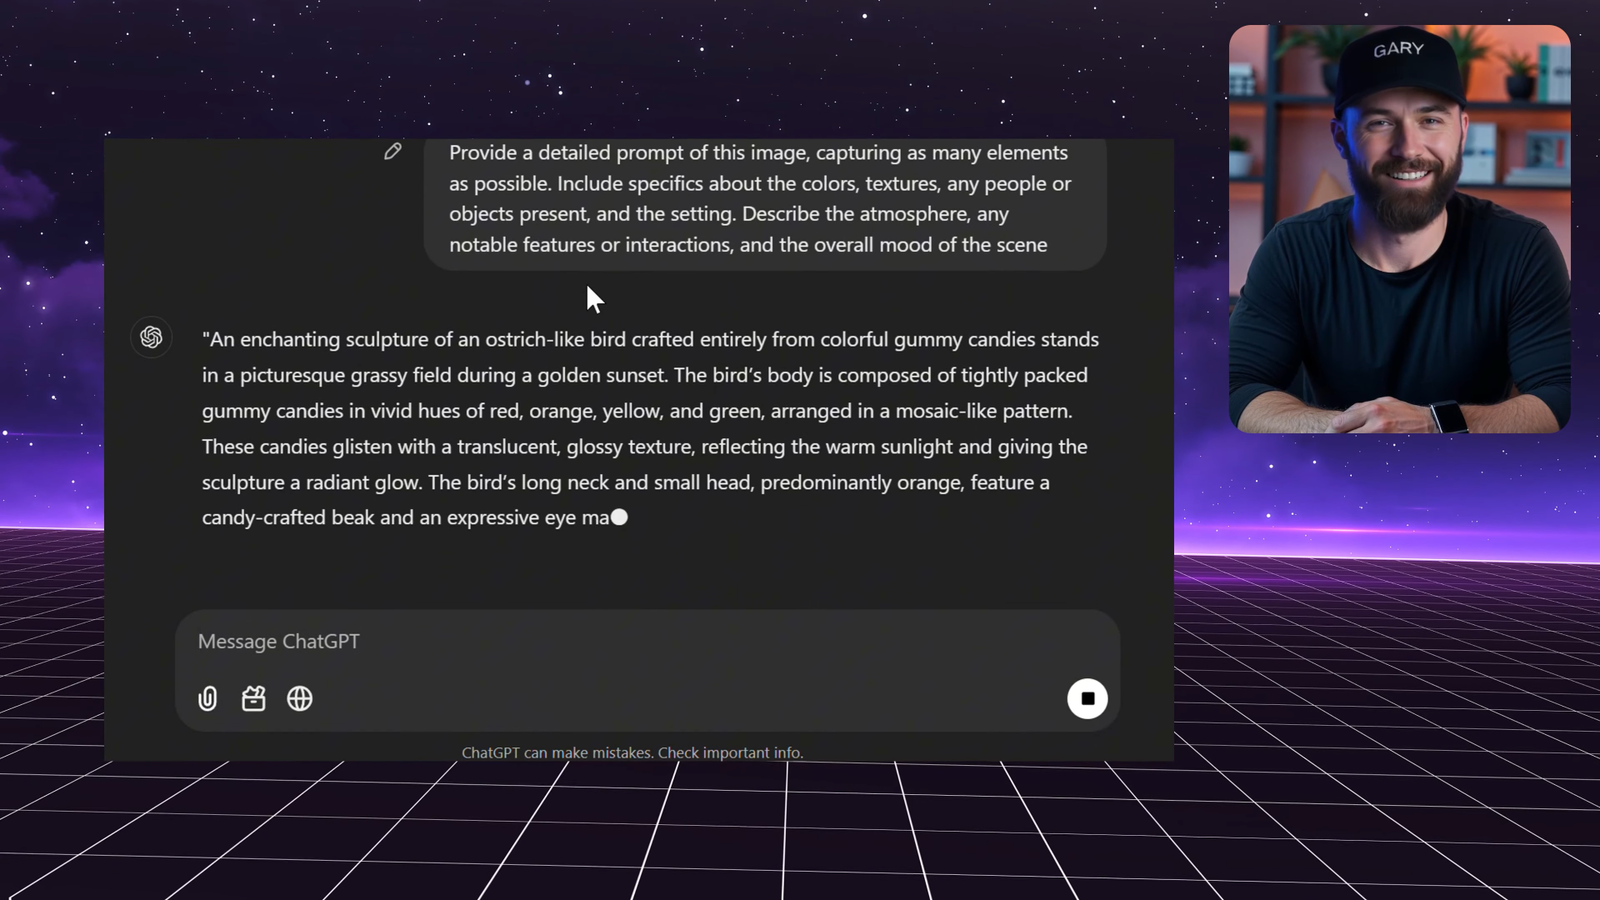
Step 1: Generate a Detailed Image Prompt with ChatGPT
To create an accurate AI image, start with a well-structured prompt: 📌 Pick an image you like from a reference video. 📌 Use ChatGPT to generate a detailed image description including:
- Setting
- Main objects
- Colors & mood
- Notable features 📌 ChatGPT will provide a highly detailed prompt that you can use for image generation.
💡 Pro Tip: The first attempt may not be perfect—adjusting details in the prompt can help improve results!
Step 2: Generate AI Images with Leonardo AI
Once you have the perfect prompt, it’s time to create the image! ✅ Open Leonardo AI and paste the ChatGPT-generated prompt. ✅ Select the latest model: Phoenix 1.0 (recommended for best results). ✅ Settings:
- Prompt Enhancement: Default
- Style & Contrast: Default
- Generation Mode: Ultra (for highest quality)
- Image Dimensions: 9×16 (best for video use)
- Number of Images: 4 ✅ Click Generate and review your images.
🎯 Fine-tuning the image:
- If details appear too sharp or unnatural, lower the generation mode to “Quality.”
- To match a reference more closely, use Image Guidance:
- Click on the image icon in the top right.
- Upload the reference image and set strength to 0.5.
- Adjust the style to “3D render” and regenerate.
🚀 Now, you have a stunning AI-generated image ready for animation!

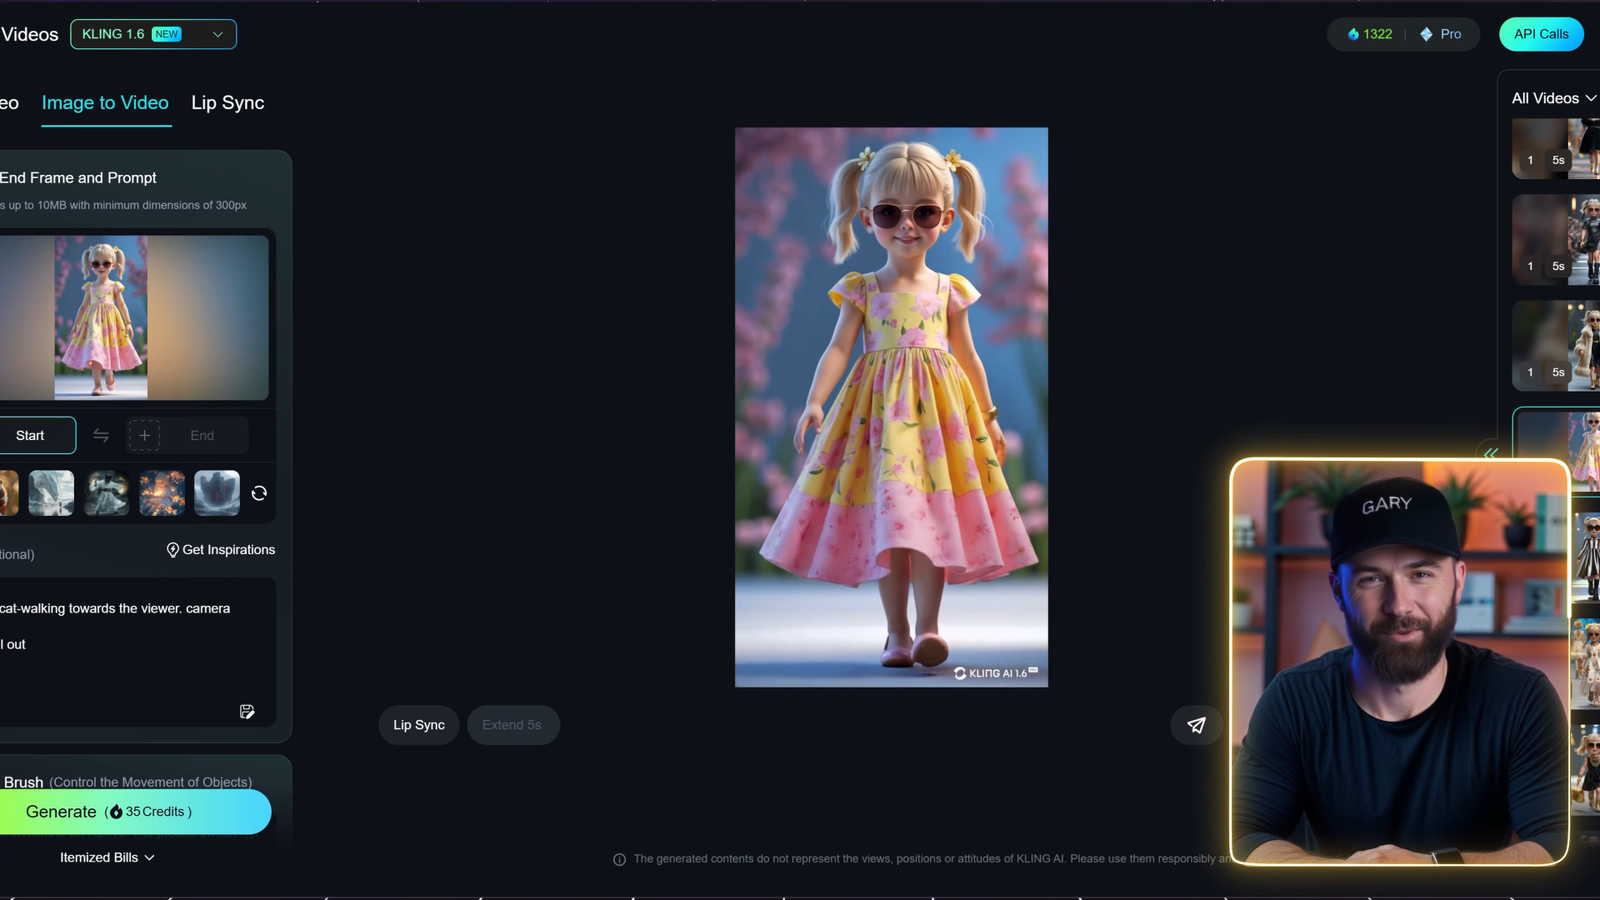
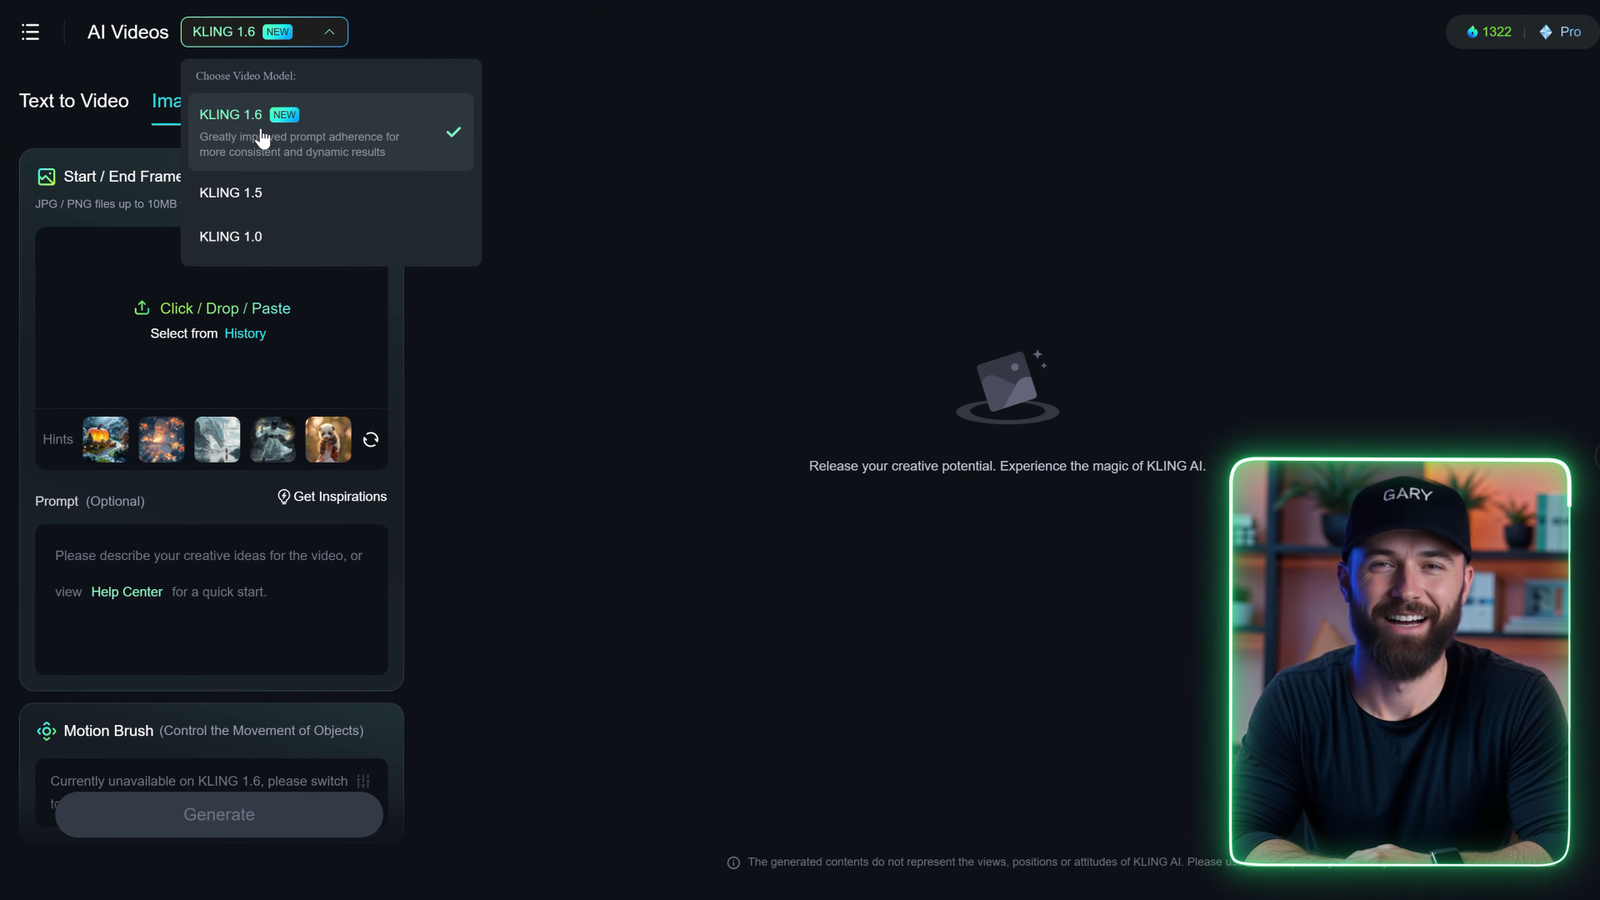
Step 3: Generate Video Animations with KLING AI
Now that your image is ready, it’s time to animate it into a professional-quality video. ✅ Open KLING AI and select AI Video > Image to Video. ✅ Choose KLING AI Version 1.6. ✅ Upload the AI-generated image (optional). ✅ Use a dynamic animation prompt such as:
- “The kid is catwalking toward the viewer as the camera slowly pulls out.” ✅ Settings:
- Creativity: 0.5 (for natural movement)
- Professional Mode: ON (for high-quality rendering)
- Duration: 5-10 seconds ✅ Click Generate and let the AI bring your image to life!
🎬 Your AI-generated image is now a stunning animated clip!
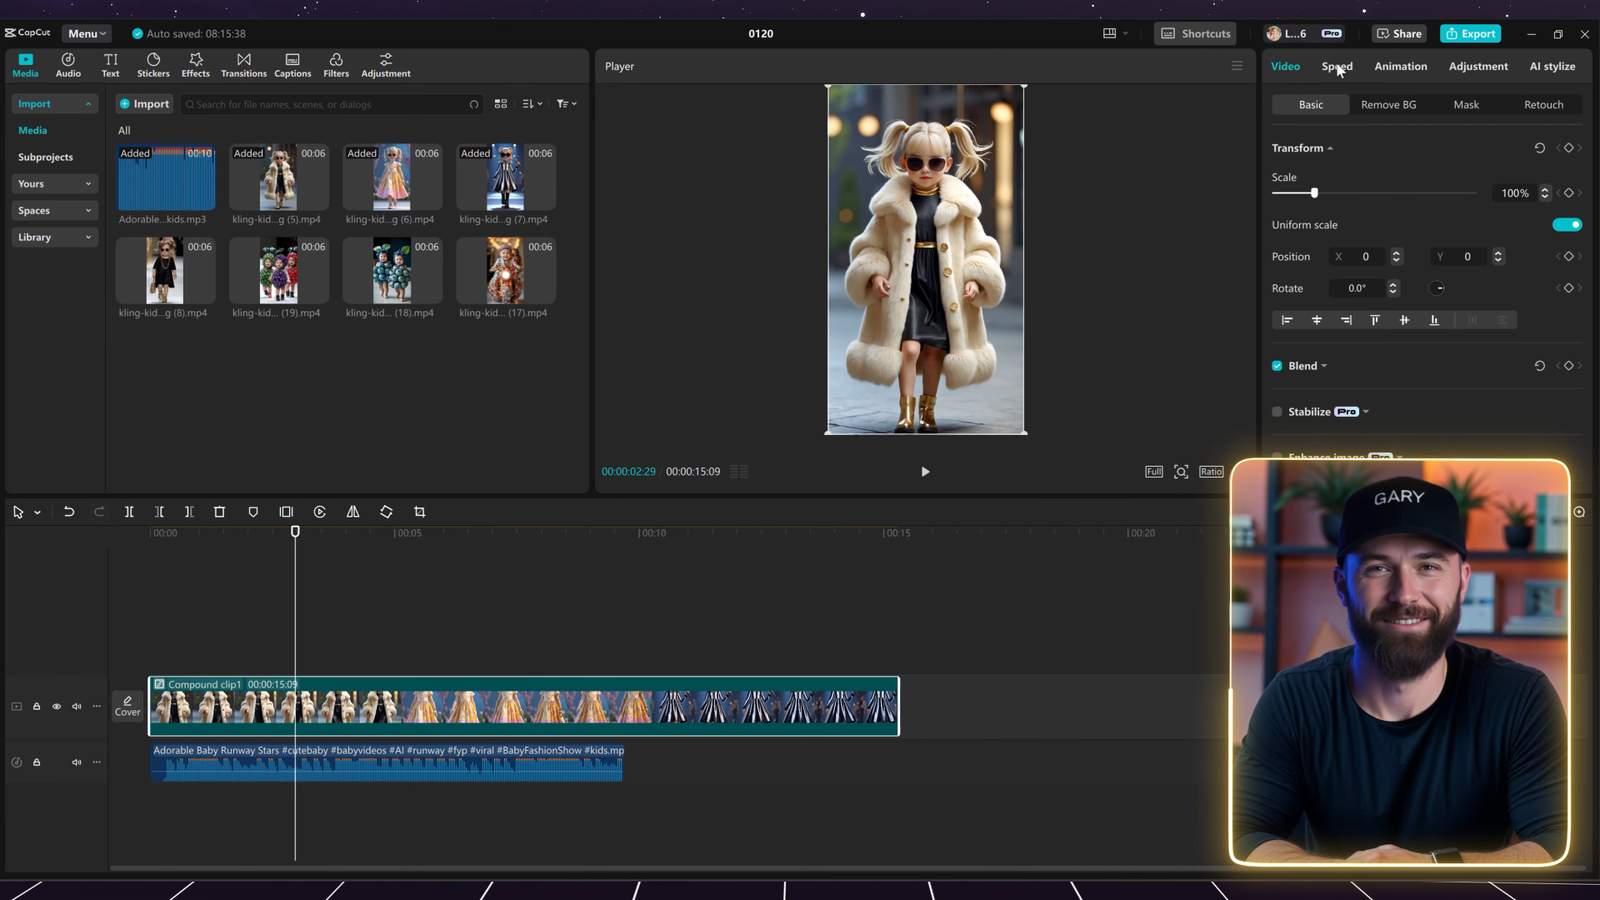
Step 4: Editing the Final Video with CapCut
To enhance your AI-generated animation: ✅ Import the animated clip into CapCut. ✅ Arrange the clips and add transitions for smooth flow. ✅ Adjust the timing and speed to match the concept. ✅ Add text overlays, effects, or background music to make it engaging. ✅ Export and share your high-quality AI-generated video!
Final Thoughts: Your Path to Viral AI Content
By following these steps, you can: ✅ Generate high-quality AI images ✅ Transform them into stunning AI videos ✅ Create engaging content for social media
🔥 Want more AI video-making tips? Subscribe for advanced guides and tutorials! 🚀
Let’s keep creating viral AI content together! 🎥✨
Leave a Reply