
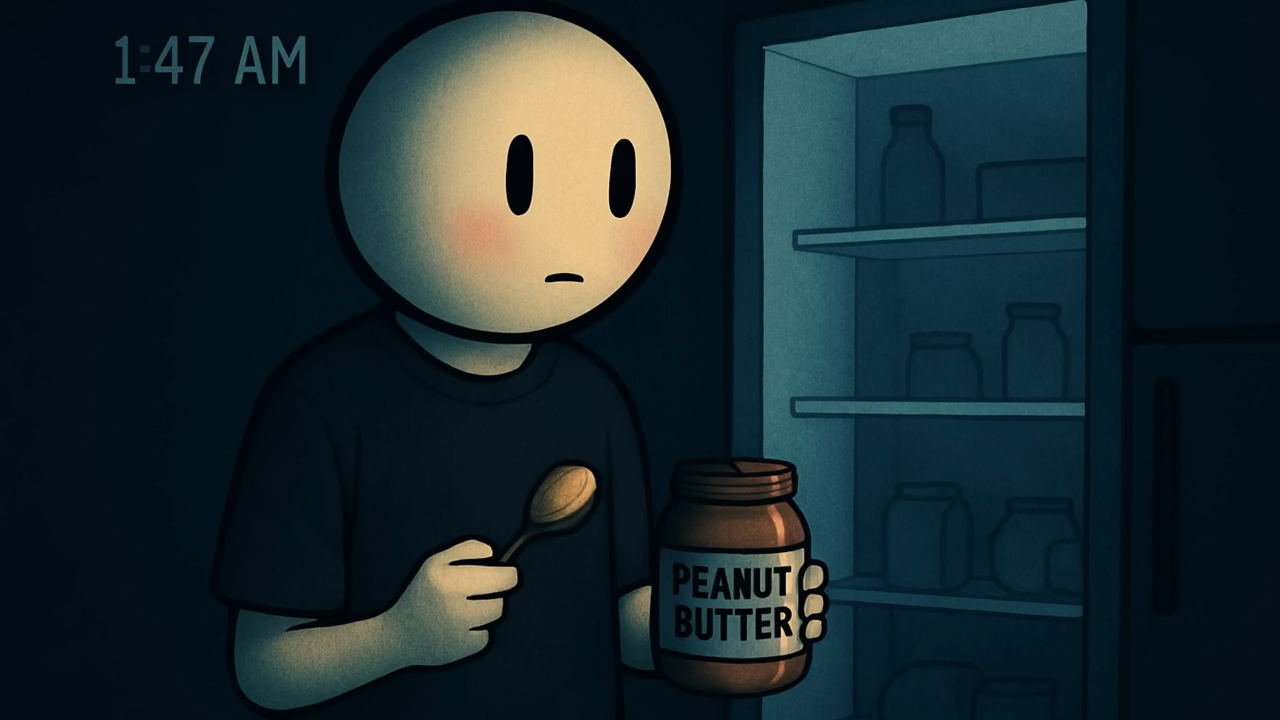
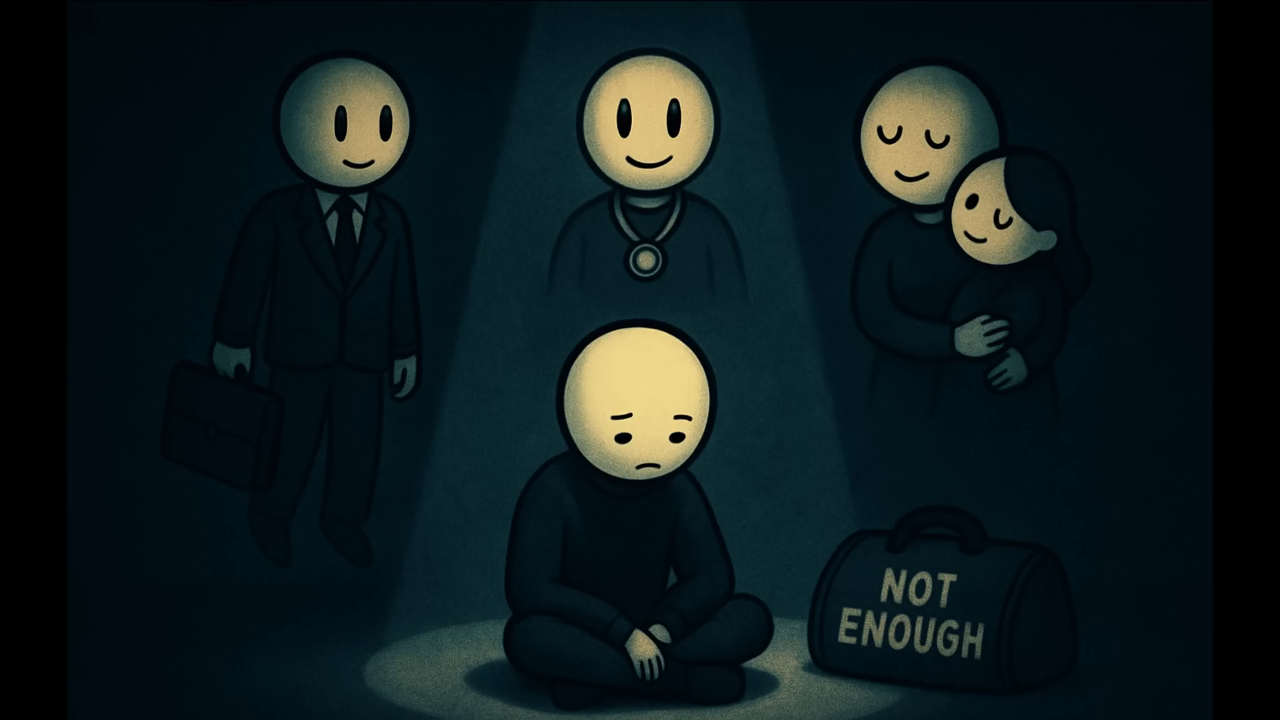
It started with a spoonful of peanut butter at 1:47 a.m. I wasn’t hungry. I was just standing in the kitchen in an old t-shirt that didn’t feel like mine, holding a jar of peanut butter like it might explain why my life felt like it was dissolving in slow motion.
I didn’t know it at the time, but that quiet moment of staring into the fridge would later become part of a video that went viral. And here’s the thing—it wasn’t a glossy, cinematic production. It wasn’t backed by a big team or expensive software. It was a stick figure animation video I built in less than 20 minutes using AI and automation.
Today, I’m going to show you exactly how I did it—and how you can replicate the process to build a faceless YouTube channel that doesn’t just exist but has the potential to go viral.
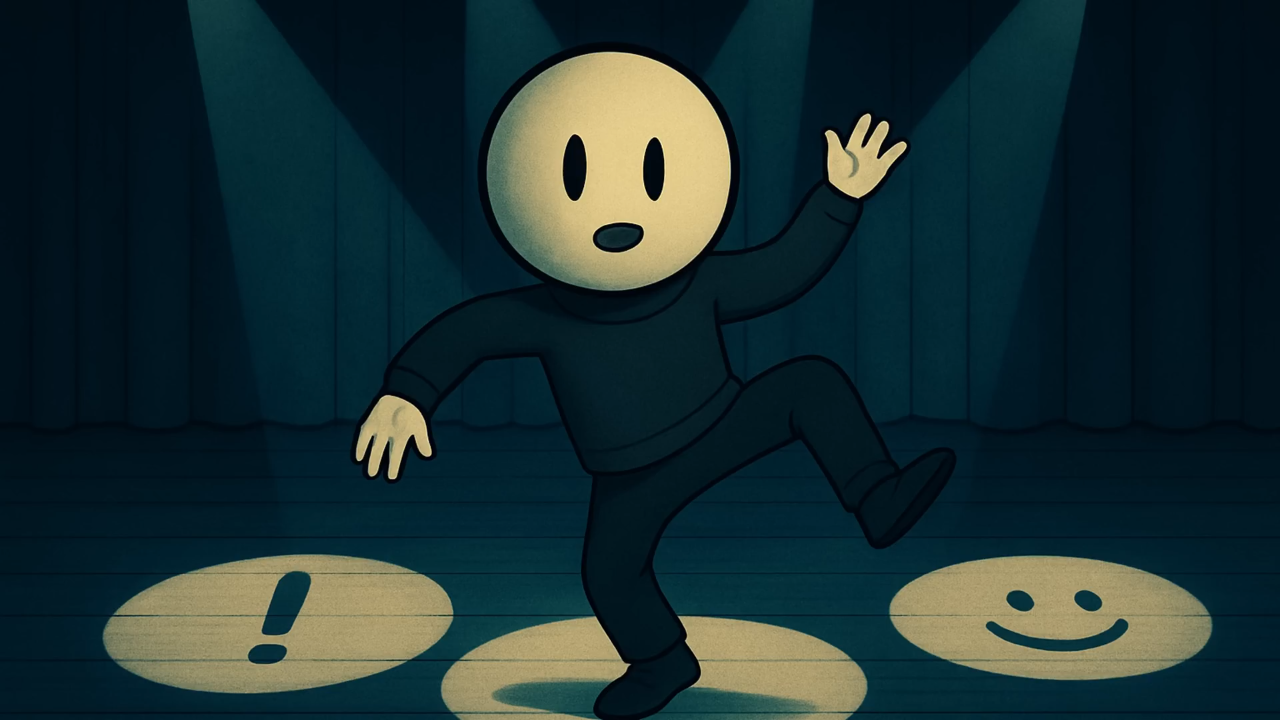
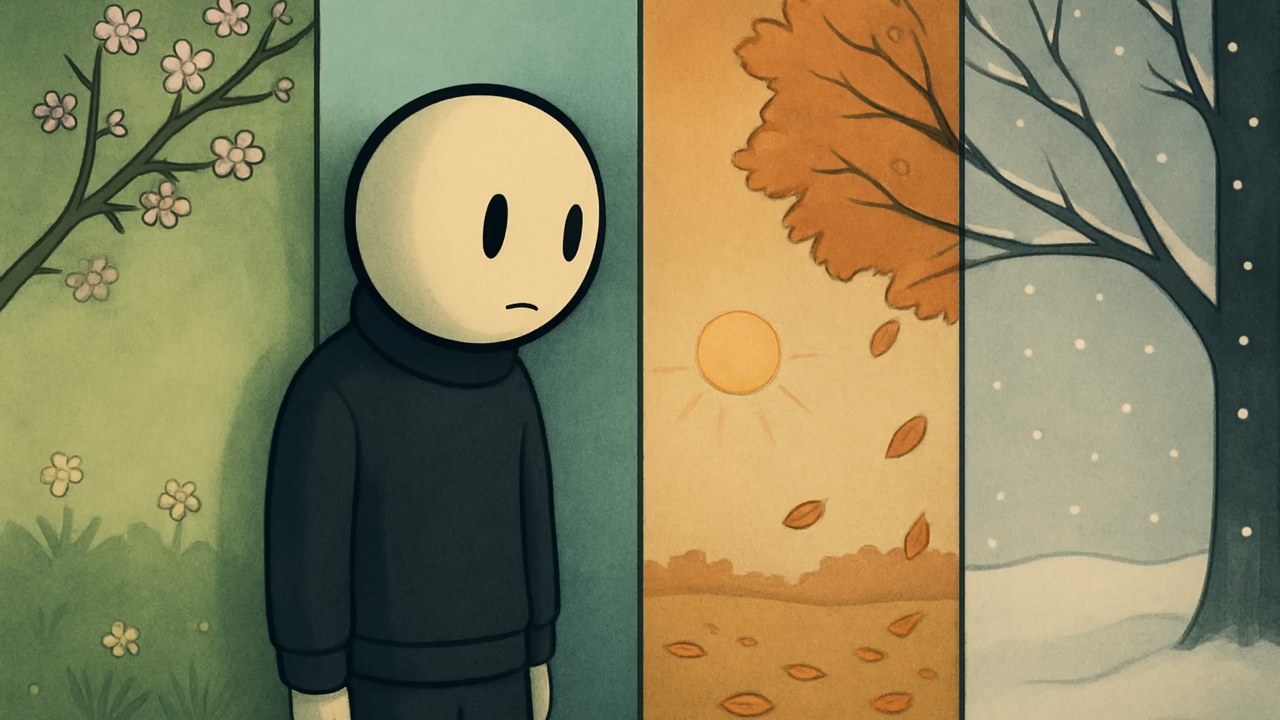
Why Stick Figure Videos Work
Stick figures might sound too simple, but that’s exactly why they’re so powerful. They’re universal, versatile, and surprisingly emotional when paired with the right script and narration.
Think about it:
- They’re fast to produce compared to 3D or illustrated animations.
- They’re highly replicable—once you have a character design, you can reuse it.
- They’re audience-friendly, striking the perfect balance between minimalism and relatability.
And thanks to automation platforms like Make.com, you can now generate scripts, images, and even voiceovers in bulk—leaving you with more time to focus on creativity instead of repetitive manual tasks.
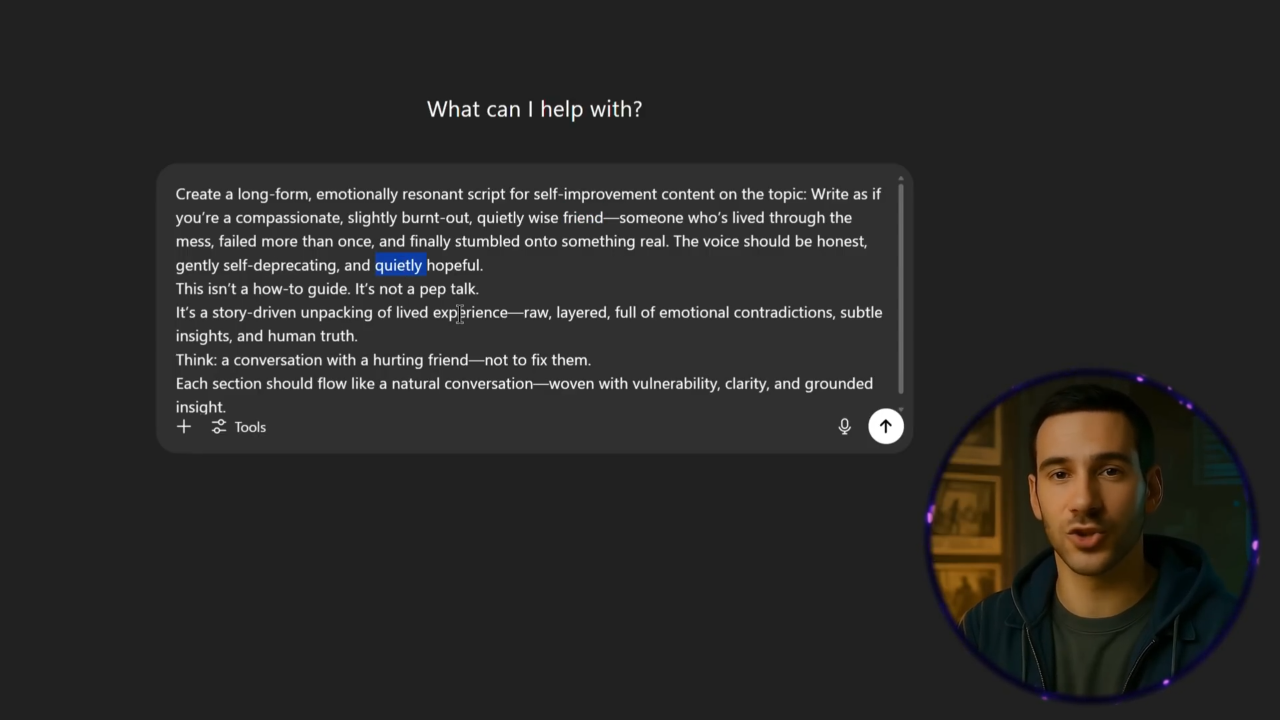
Step 1: Writing a Script with ChatGPT
Every video starts with a strong script. For stick figure content, you don’t need complex storytelling—it’s about clarity and relatability.
Here’s the exact approach I use:
- Open ChatGPT.
- Paste in a long-form prompt (I share mine with my community). This defines tone, pacing, and style.
- Let ChatGPT generate a draft.
The beauty of this method is consistency. Every time I use my master prompt, I get scripts that are:
- Conversational but structured
- Easy to time with visuals
- Suitable for narration without needing edits
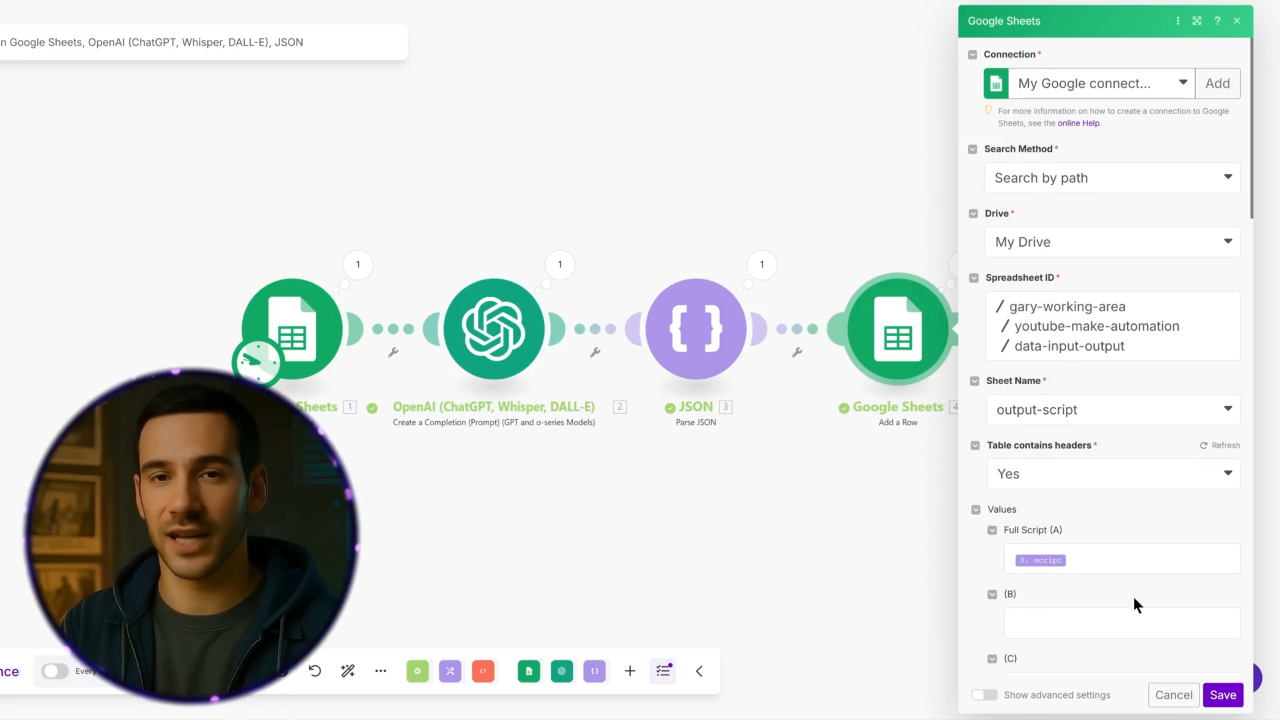
Once the script is generated, I store it in a Google Sheet so Make.com can pull it automatically into the workflow.
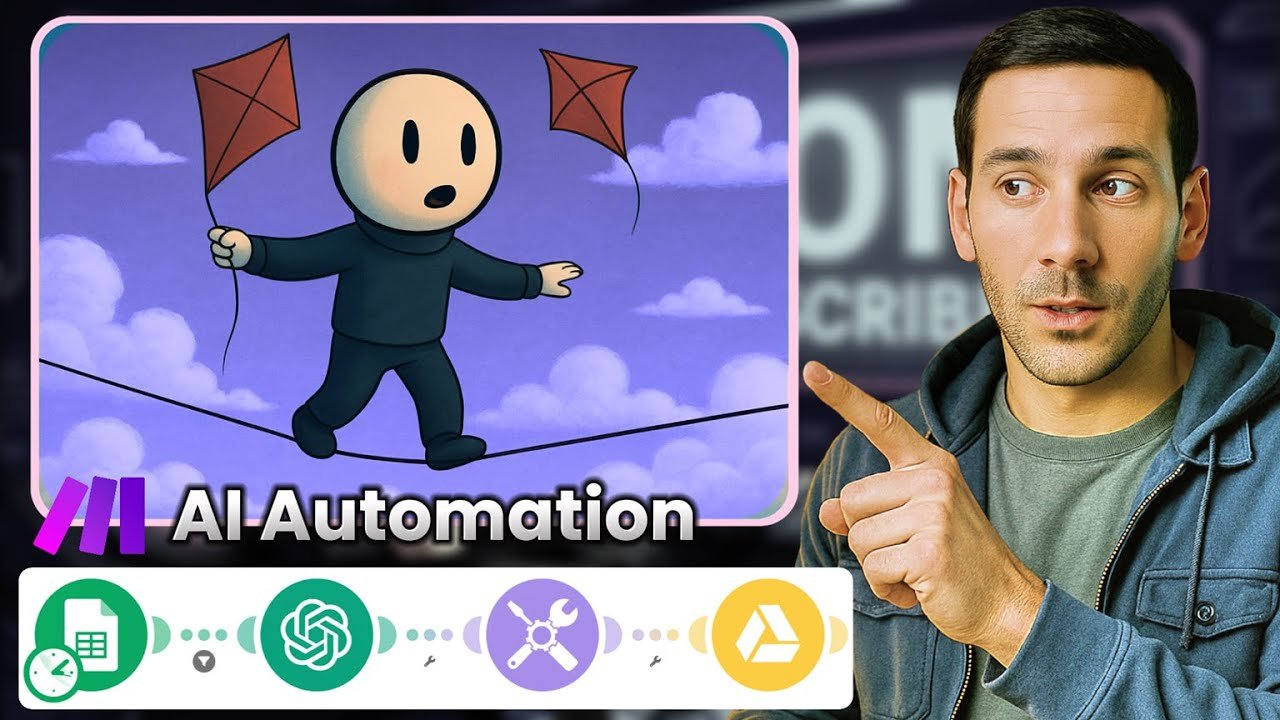
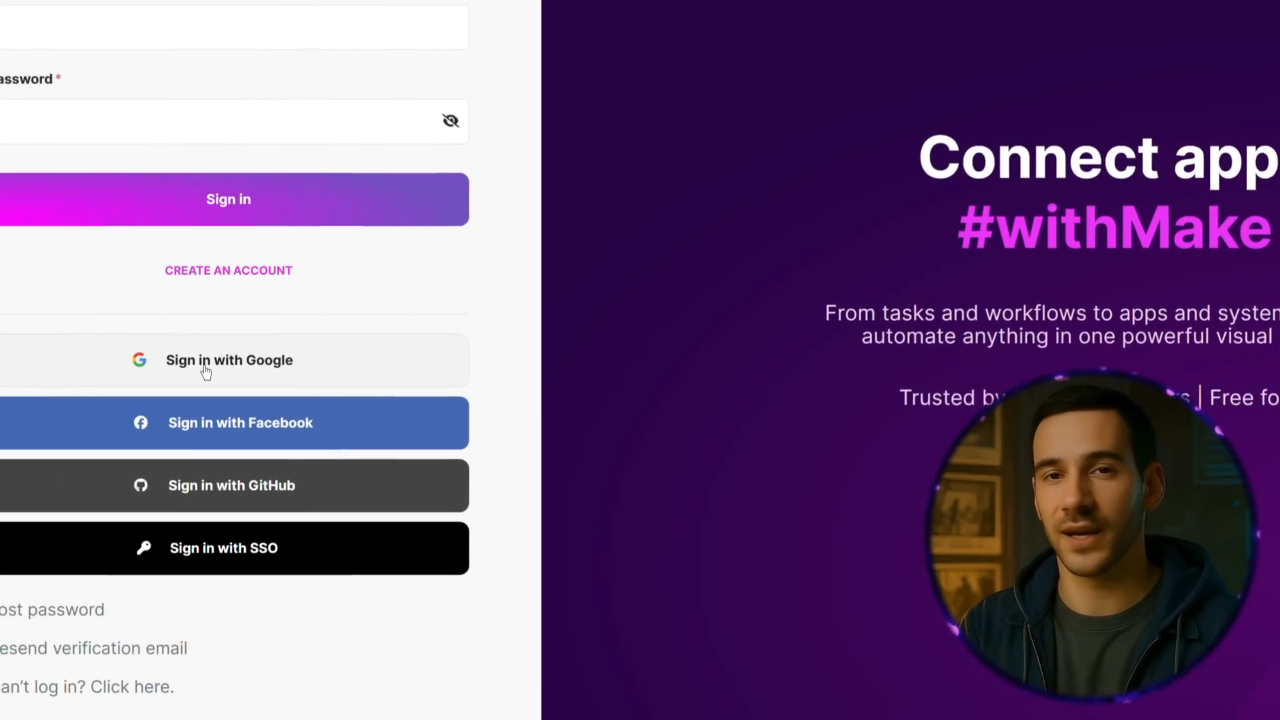
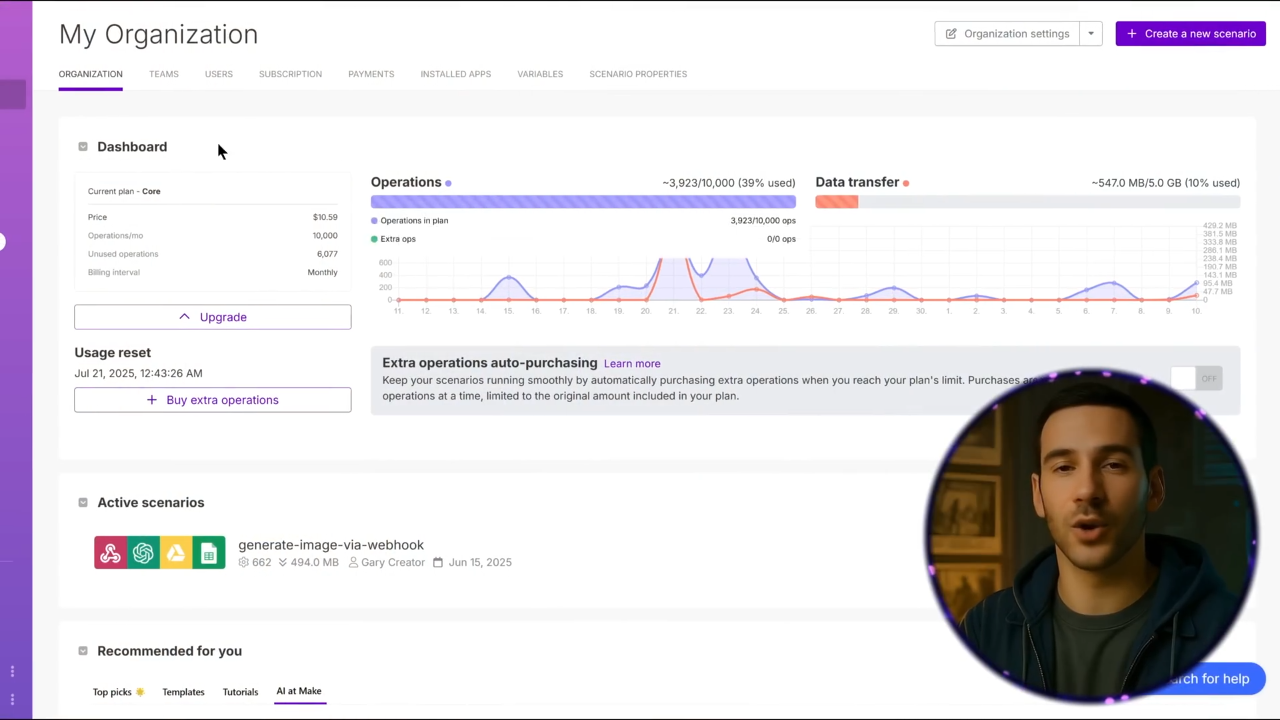
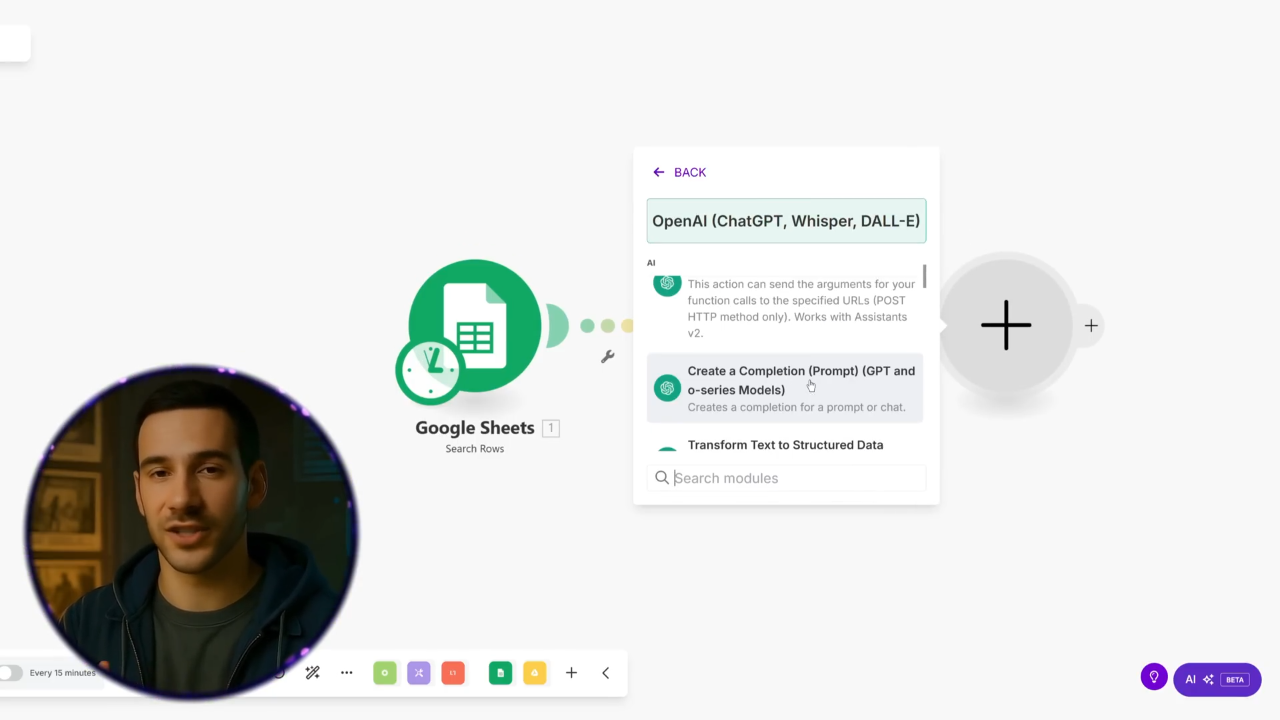
Step 2: Building Your Automation in Make.com
This is where things get exciting. If you’re new to automation, don’t panic—I’ll break it down simply.
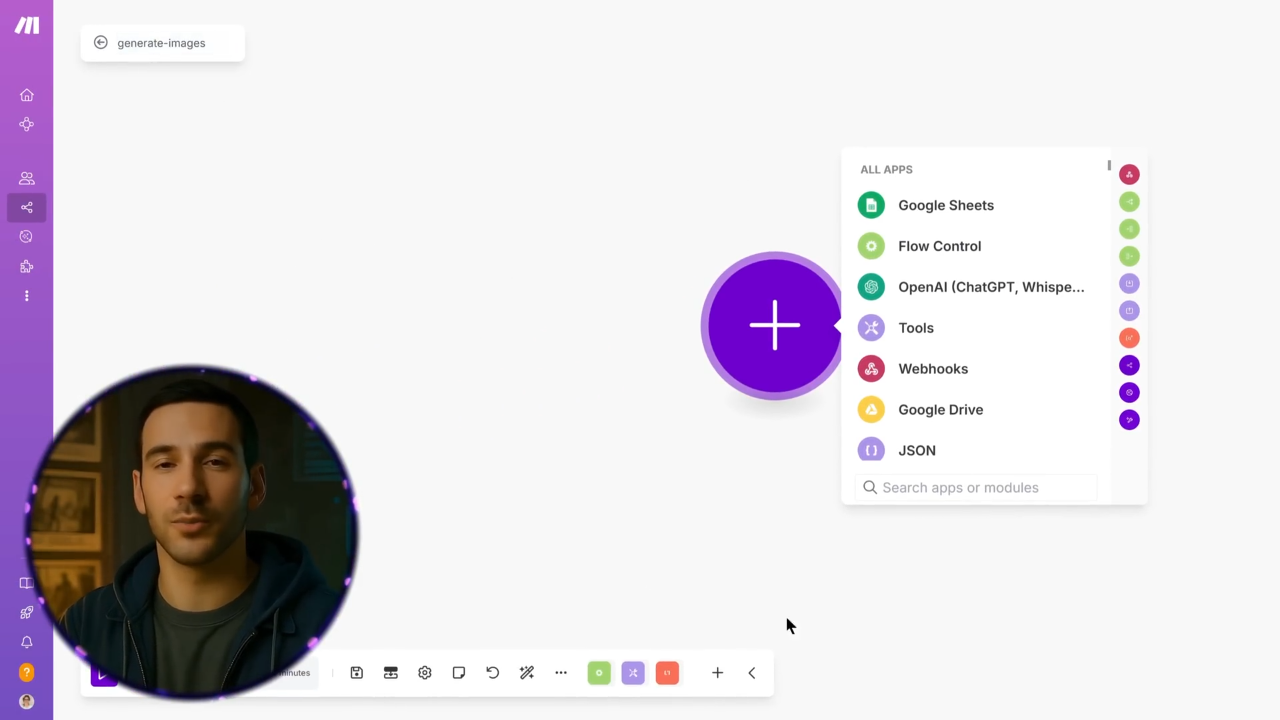
Inside Make.com, you’ll build a scenario (a pipeline of connected steps). For the demo, I used just a handful of modules:
- Google Sheets (Input Prompt) – holds the master script prompt.
- OpenAI Module – sends the prompt to GPT-4.0 and gets a script in return.
- Parse JSON Module – ensures the response is clean and structured.
- Google Sheets (Output Script) – stores the finished script neatly for review.
Run the scenario once, and you’ll see the full script drop directly into your Google Sheet, ready to use. No copy-pasting. No messy formatting.
Step 3: Generating Image Prompts
Next, you’ll need visuals for your stick figure animation. Instead of writing image prompts one by one, I automate this step too.
Here’s how:
- Create an image prompt template in a new Google Sheet.
- Add placeholders like: “I have a stick figure described as [character]. Interpret this script visually in 30 images. Use simple backgrounds and consistent character style.”
- Use Make.com to combine this template with the script.
The result? A clean list of 30–200 image prompts (depending on video length), generated in under five minutes.
This alone saves hours of manual work.
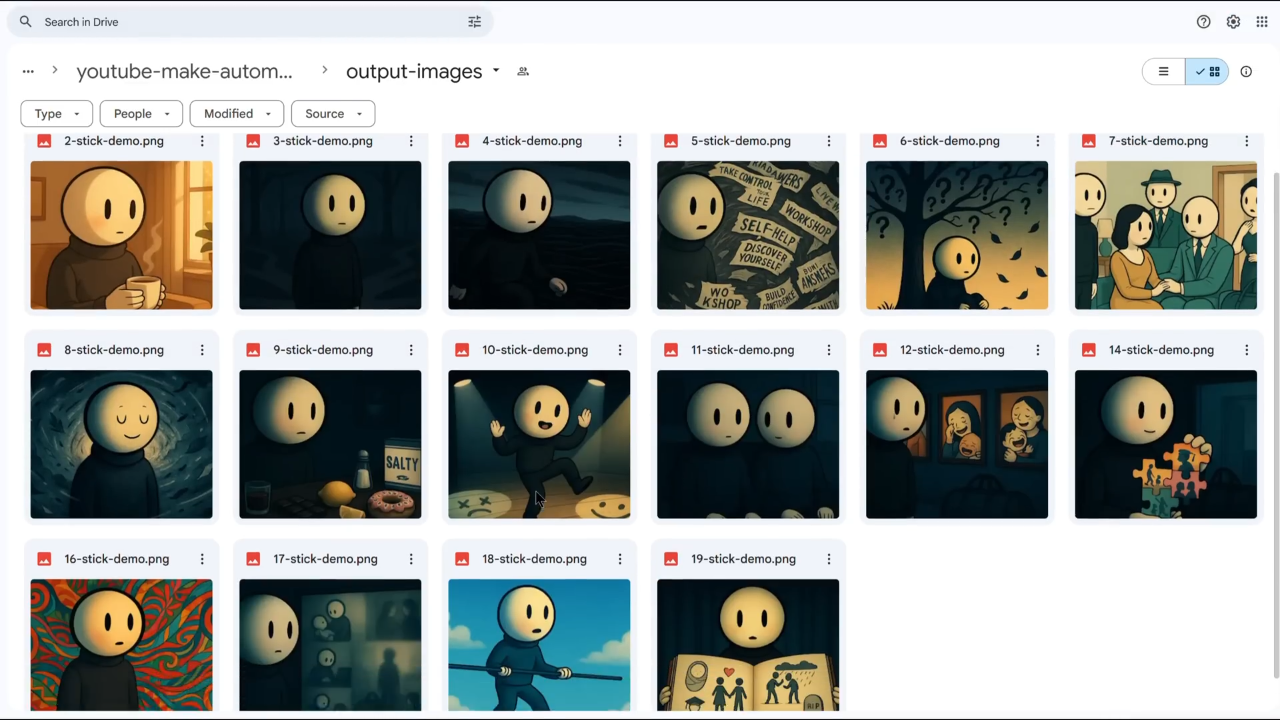
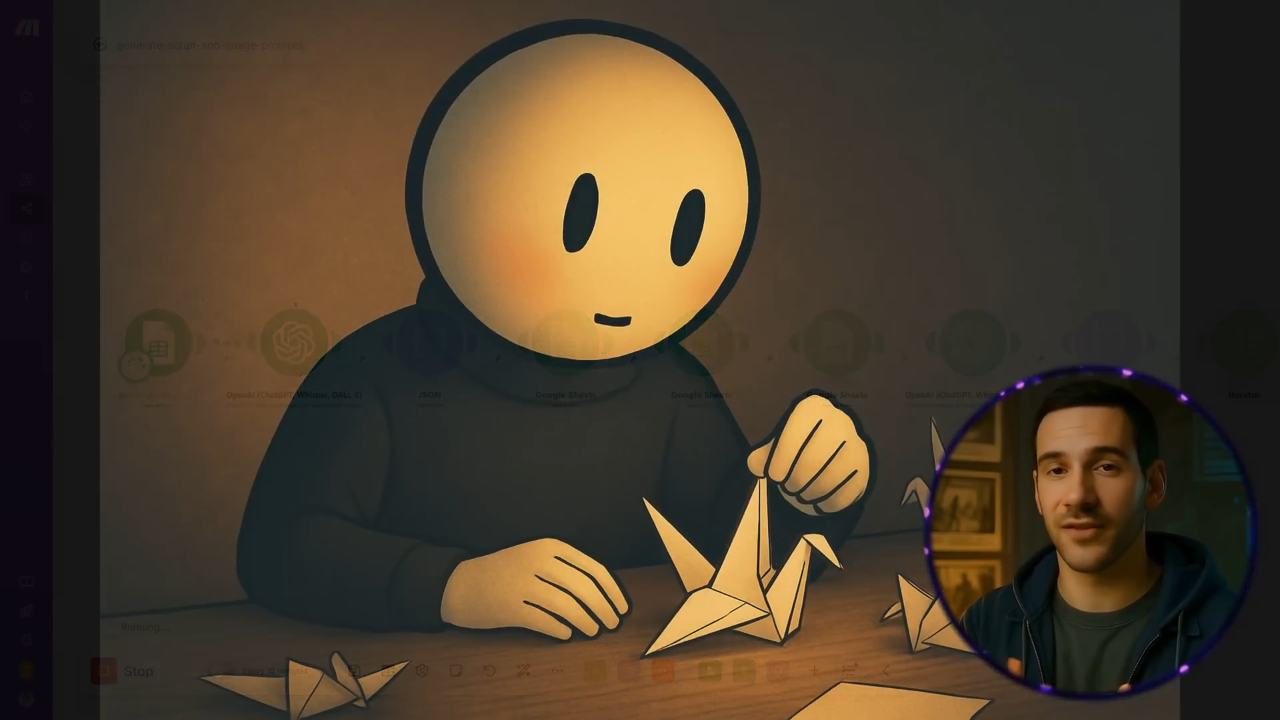
Step 4: Generating Stick Figure Images
Now it’s time to bring those prompts to life. You can do this two ways:
Manual Method
- Copy a prompt.
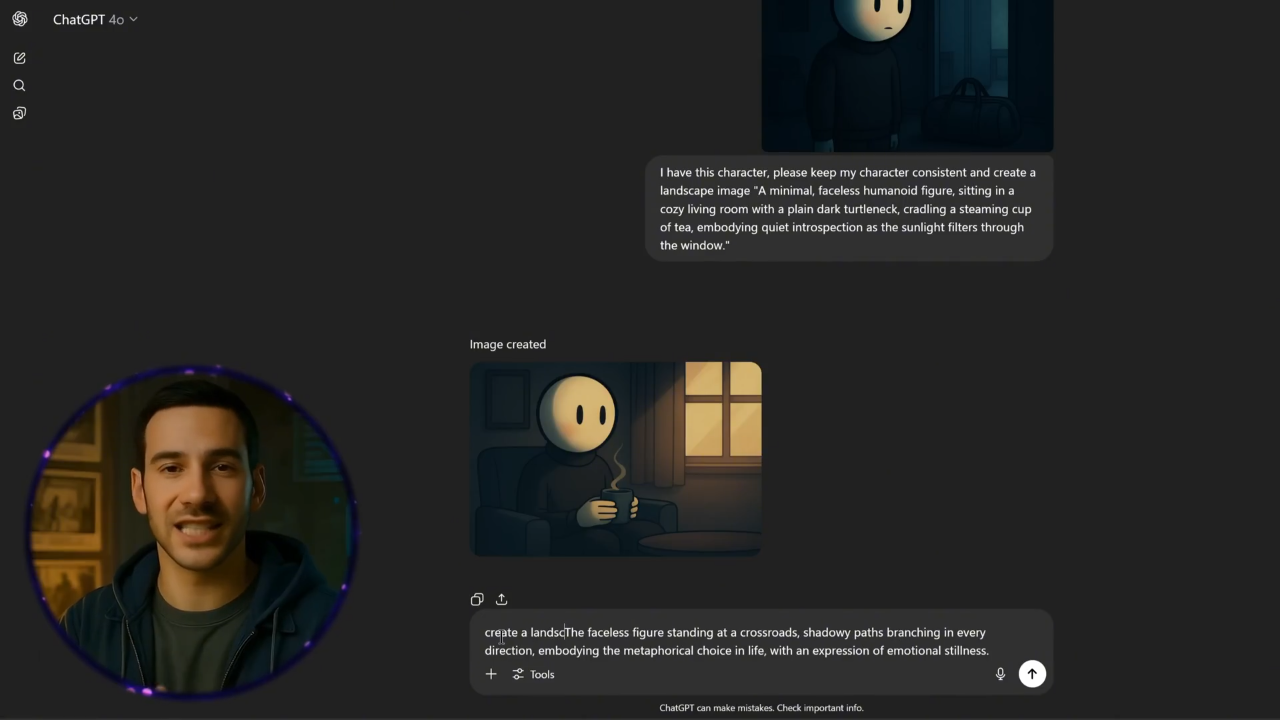
- Paste it into ChatGPT or an AI image generator.
- Upload a referen ce stick figure to ensure consistency.
- Add the prefix: “Please create a landscape image with the same character.”
Each image takes ~30 seconds. Great for testing, but slow at scale.
Automated Method
This is where my second Make.com scenario comes in. It pulls each image prompt from the sheet, applies your reference stick figure, and outputs all generated images directly into a Google Drive folder.
With automation, I can create 30 stick figure images in just over one minute. That’s production speed no manual process can match.
Step 5: Adding Voiceovers
While visuals are important, your narration is what gives the video life. I use 11 Labs to generate voiceovers, and here’s my setup:
- Voice: Mark Natural Conversational (or a calm variant depending on topic).
- Settings: default, but with speaker boost enabled.
I copy the script, paste it in, and generate the audio. Later, I’ll show you how this too can be automated in Make.com, but for beginners, manual generation is fine.
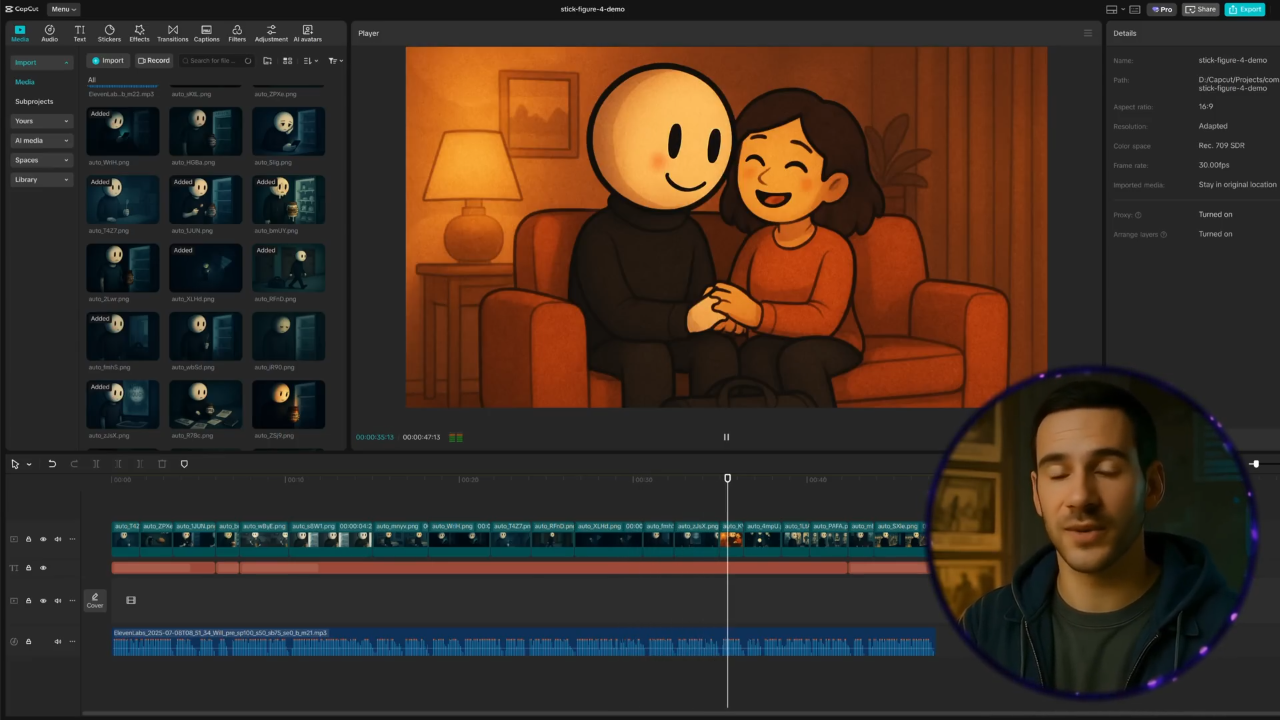
Step 6: Combining Everything
At this point, you have:
- A full script (stored in Google Sheets)
- 30–200 stick figure images (in Google Drive)
- A clean narration file (MP3 from 11 Labs)
Editing becomes almost effortless. I use CapCut because it’s lightweight, but you can use any editor you like.
Here’s the workflow:
- Import audio.
- Drop images into the timeline in order.
- Add a Ken Burns slow zoom effect for subtle movement.
- Overlay calm background music if needed.
For my viral stick figure video, it took just 15 minutes to edit one minute of content—and the results still looked polished and professional.
Step 7: Scaling with Templates
The first video always takes the longest. But once you’ve built your templates, everything speeds up.
- Script Templates: A master prompt that generates consistent narration-ready scripts.
- Image Prompt Templates: Structured prompts that ensure style consistency.
- Editing Templates: Thumbnail layouts, intro/outro scenes, and music tracks you can reuse.
For example, my first thumbnail redesign took over an hour. Once I was happy, I repurposed that style and created seven thumbnails in 30 minutes.
The same applies to scripts, voiceovers, and images. Once you’ve tested and refined your workflow, automation + templates = scale.
Why This Method Works
There are plenty of “gurus” selling shortcuts. They tell you YouTube automation is easy. Just copy-paste content, and the money rolls in. But here’s the truth:
- Copy-paste channels rarely succeed.
- Low-effort AI content gets flagged under YouTube’s new rules.
- Audiences know when something feels lazy.
My method works because it’s customized, skill-based, and automation-enhanced. You’re not cutting corners—you’re building a repeatable system that produces unique, high-quality videos.
That’s the difference between a channel that fades out after 10 uploads and one that grows into a sustainable business.
Final Thoughts
Stick figure animations might look simple, but with the right system, they can become one of the most effective forms of faceless YouTube content.
Here’s the recap:
- Generate scripts with ChatGPT.
- Automate the workflow in Make.com.
- Create image prompts and generate visuals.
- Add narration with 11 Labs.
- Edit quickly using a consistent template.
- Scale with automation and reuseable assets.
With this system, you can go from idea to finished video in under an hour. And once refined, you can produce multiple videos per week—each with viral potential.
So whether you’re just starting your faceless channel or looking to streamline production, stick figure videos are a powerful, low-barrier entry point.
And remember, automation isn’t about cutting corners—it’s about working smarter, so you can spend more time on creativity and strategy.
If you want access to my full library of prompts, templates, and automation scenarios, join my community. Inside, you’ll find step-by-step guides, prebuilt workflows, and everything you need to scale your own AI-powered YouTube channel.
Because here’s the truth: YouTube automation still works. But only if you do it the right way.