
If you’re looking for the ultimate free AI image generator, look no further than ComfyUI — a powerful, open-source tool that gives you complete creative control over AI-generated images.
Even better? You don’t need an NVIDIA GPU. You can run it entirely on your CPU, making it accessible to creators with standard PCs or laptops.
In this comprehensive guide, I’ll walk you through:
- How to install ComfyUI
- How to generate text-to-image and image-to-image
- Upscaling low-res images
- Installing models and plugins
- And even recreating workflows from others’ images
Let’s dive in!

What is ComfyUI?
ComfyUI is a node-based interface for Stable Diffusion, giving you full control over every part of the image generation process.
You can:
- Generate images from text
- Convert one image into another (image-to-image)
- Perform face swapping
- Control character poses and expressions
- Animate characters using tools like Live Portrait or TunCrafter
- Upscale and refine images
- Create consistent characters
The flexibility is unmatched compared to standard GUI-based tools, making it perfect for AI artists, designers, and hobbyists alike.

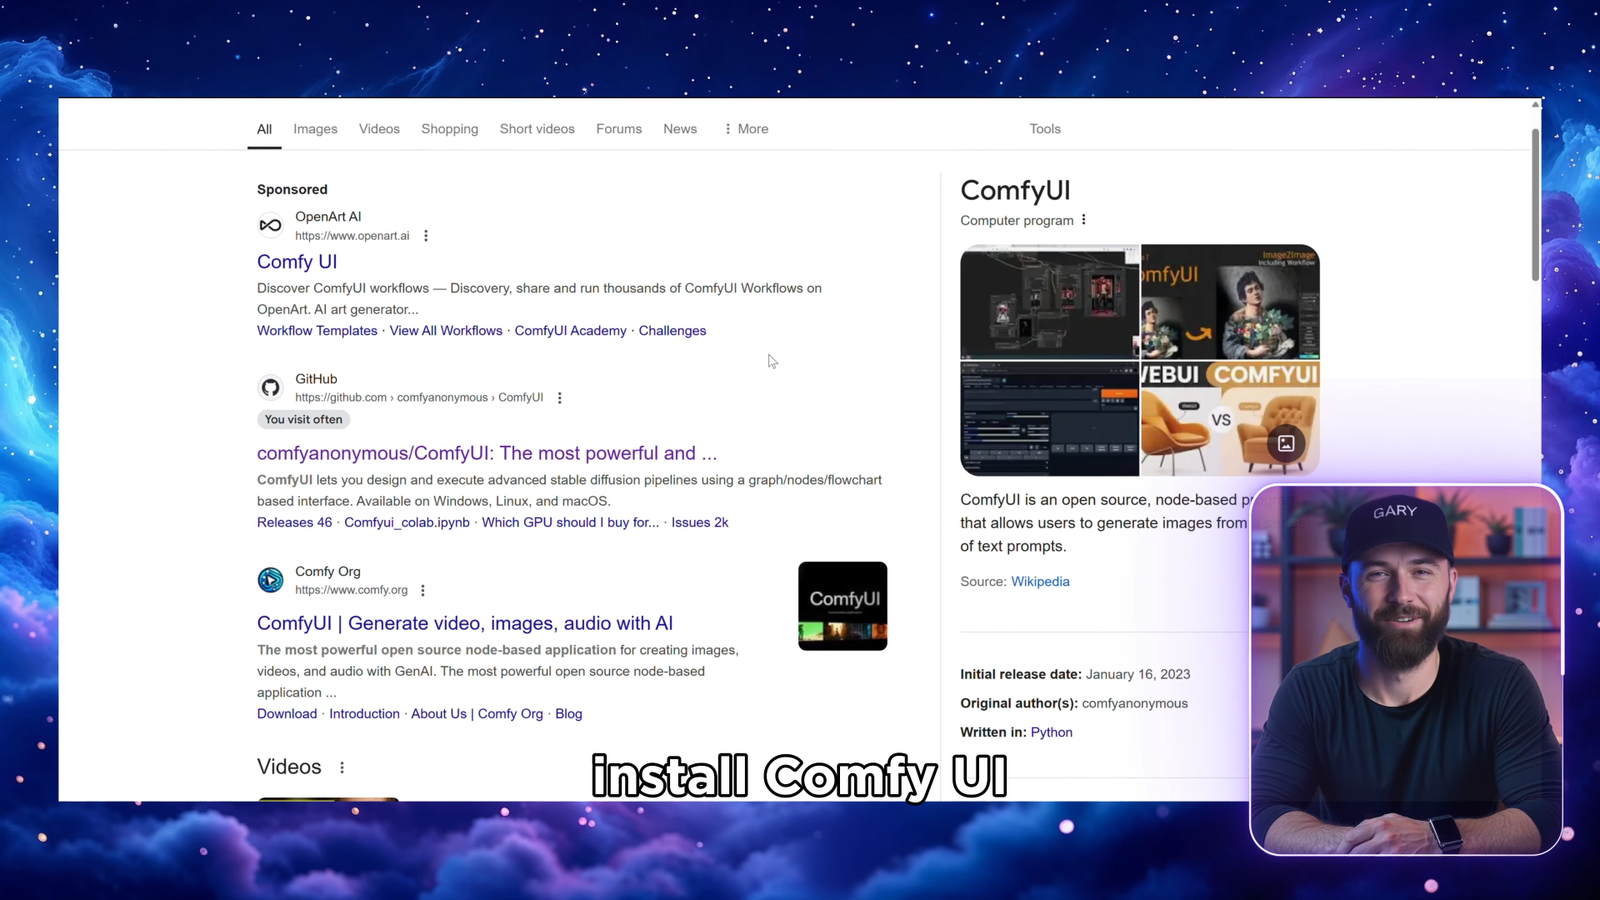
How to Install ComfyUI (Windows Tutorial)
To install ComfyUI:
- Go to the official ComfyUI GitHub repository.
- Scroll down to the Installing ComfyUI section.
- Under the Windows section, download the 7z portable version (around 1.6GB).
- Unzip the file using 7-Zip or a similar extractor.
- Extract the folder to your desktop or any directory.
- Depending on your system:
- If you have an NVIDIA GPU, run
run_nvidia_gpu.bat. - If you’re using CPU, run the CPU-compatible version.
- If you have an NVIDIA GPU, run
📝 Note: ComfyUI runs fine on mid-range CPUs with at least 16GB of RAM.

Downloading Image Generation Models
Once ComfyUI is running, you’ll need to download a Stable Diffusion model (also called a “checkpoint”).
Think of models as style templates — you can find ones for:
- Realism
- Pixar-style
- Anime
- Watercolor
- Fantasy scenes
- And more
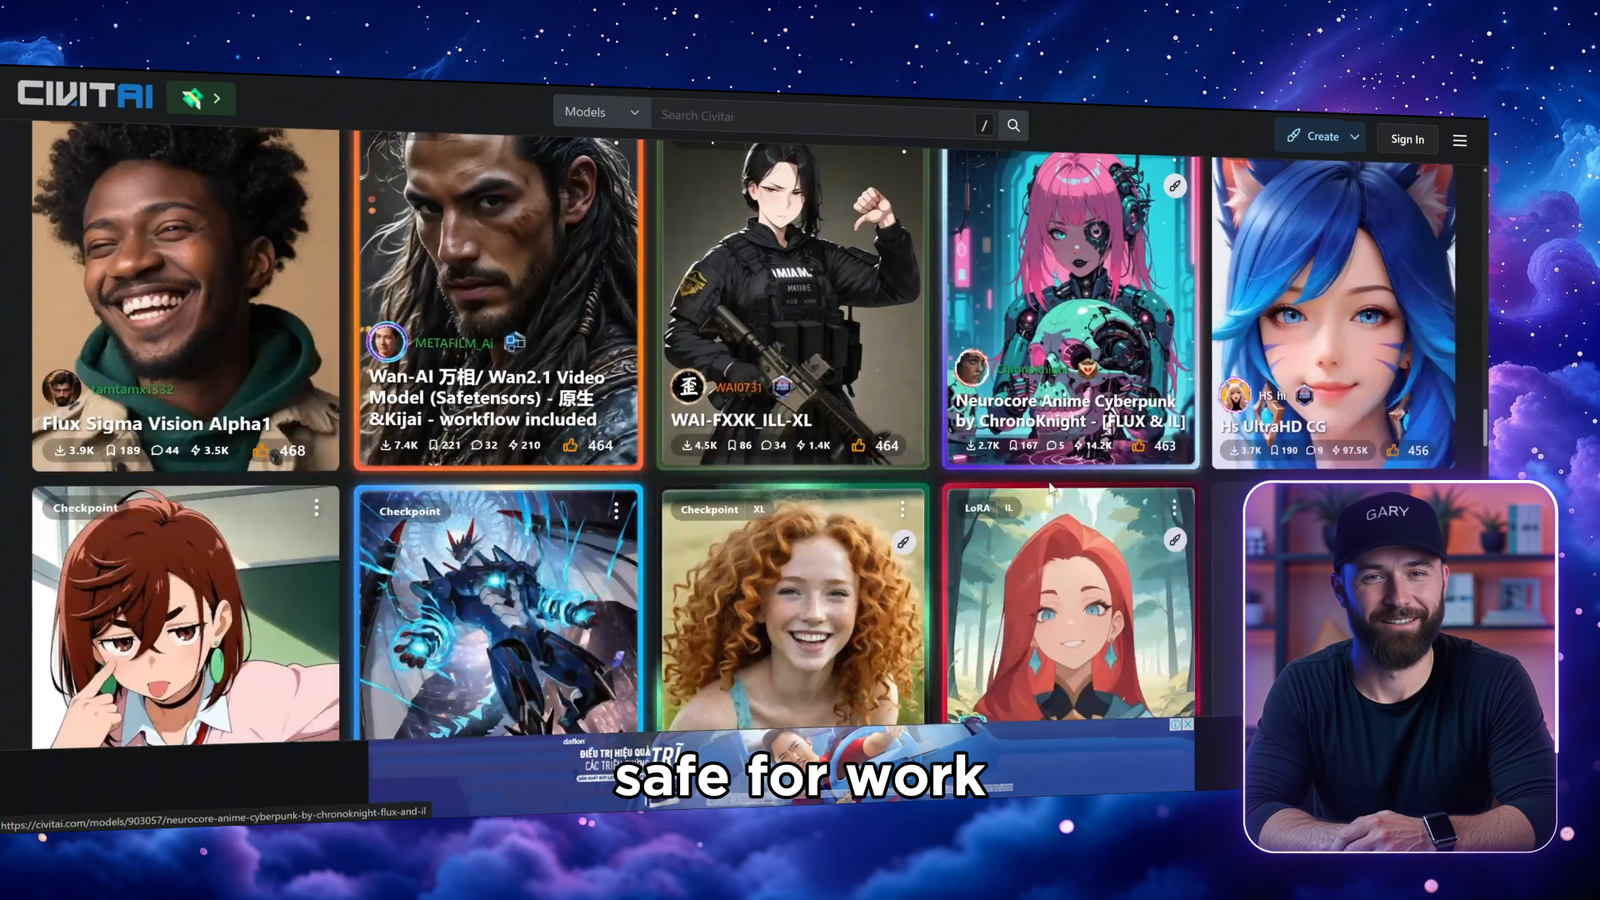
🔍 Where to Find Models
Two great places:
- Civitai.com – Browse thousands of models
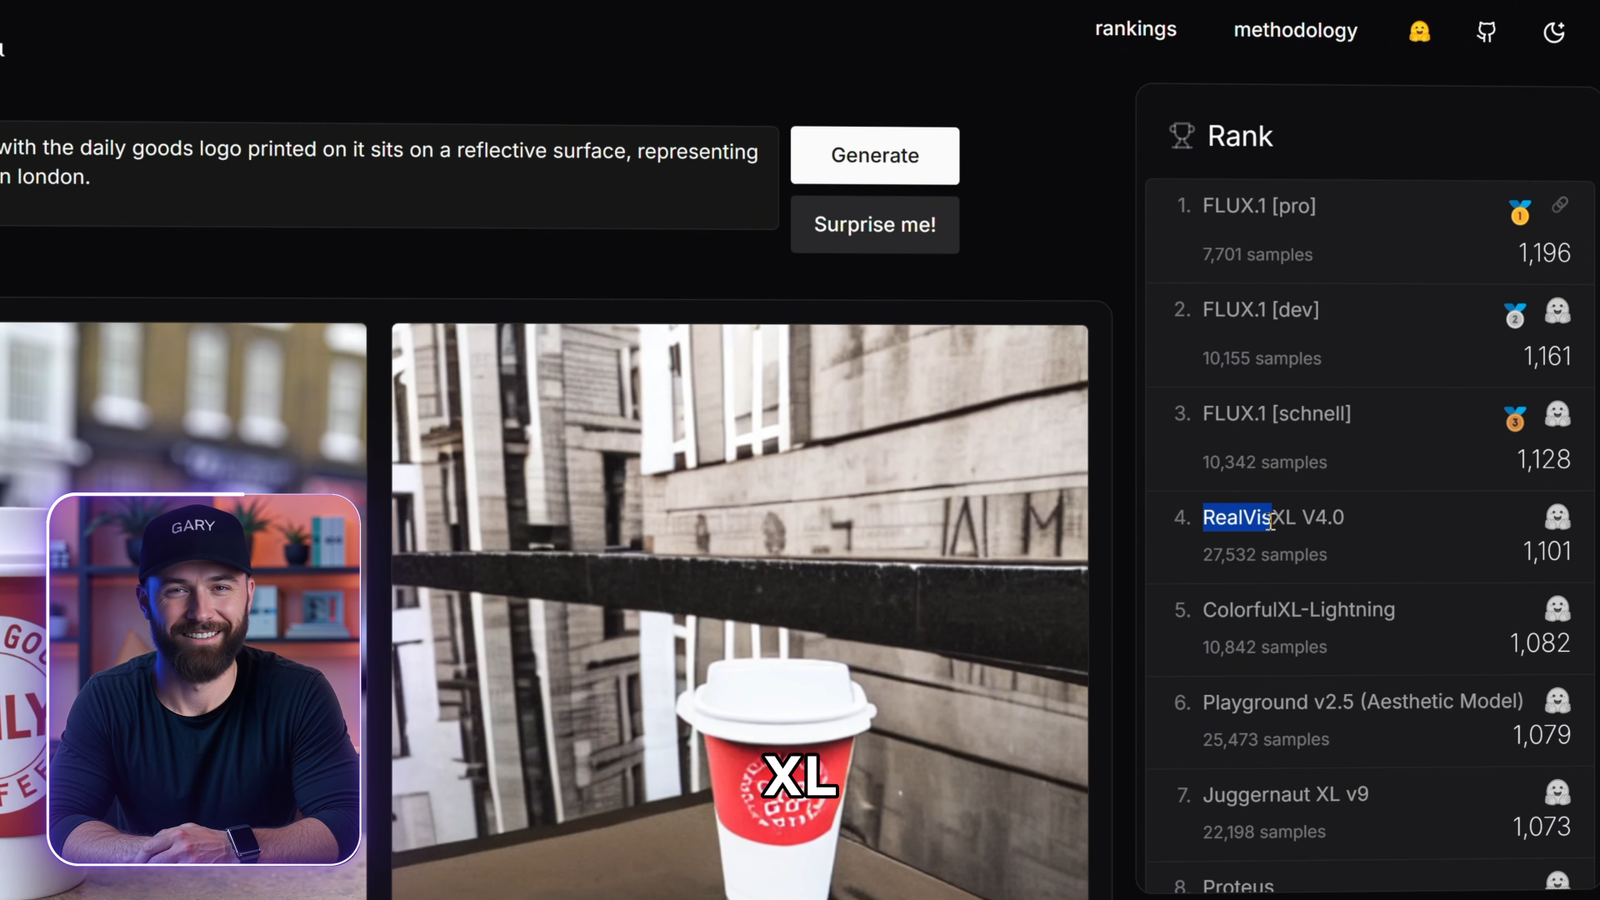
- Imagecy – Ranking system for top-rated models
For this tutorial, we’ll use RealVis XL V5.0.
- Search for “RealVis XL V5.0” on Civitai.
- Download the
.safetensorsfile (approx. 6.4GB). - Place it in your ComfyUI directory:
ComfyUI/models/checkpoints/
Now restart ComfyUI, and you’ll see this model appear in the Load Checkpoint node.

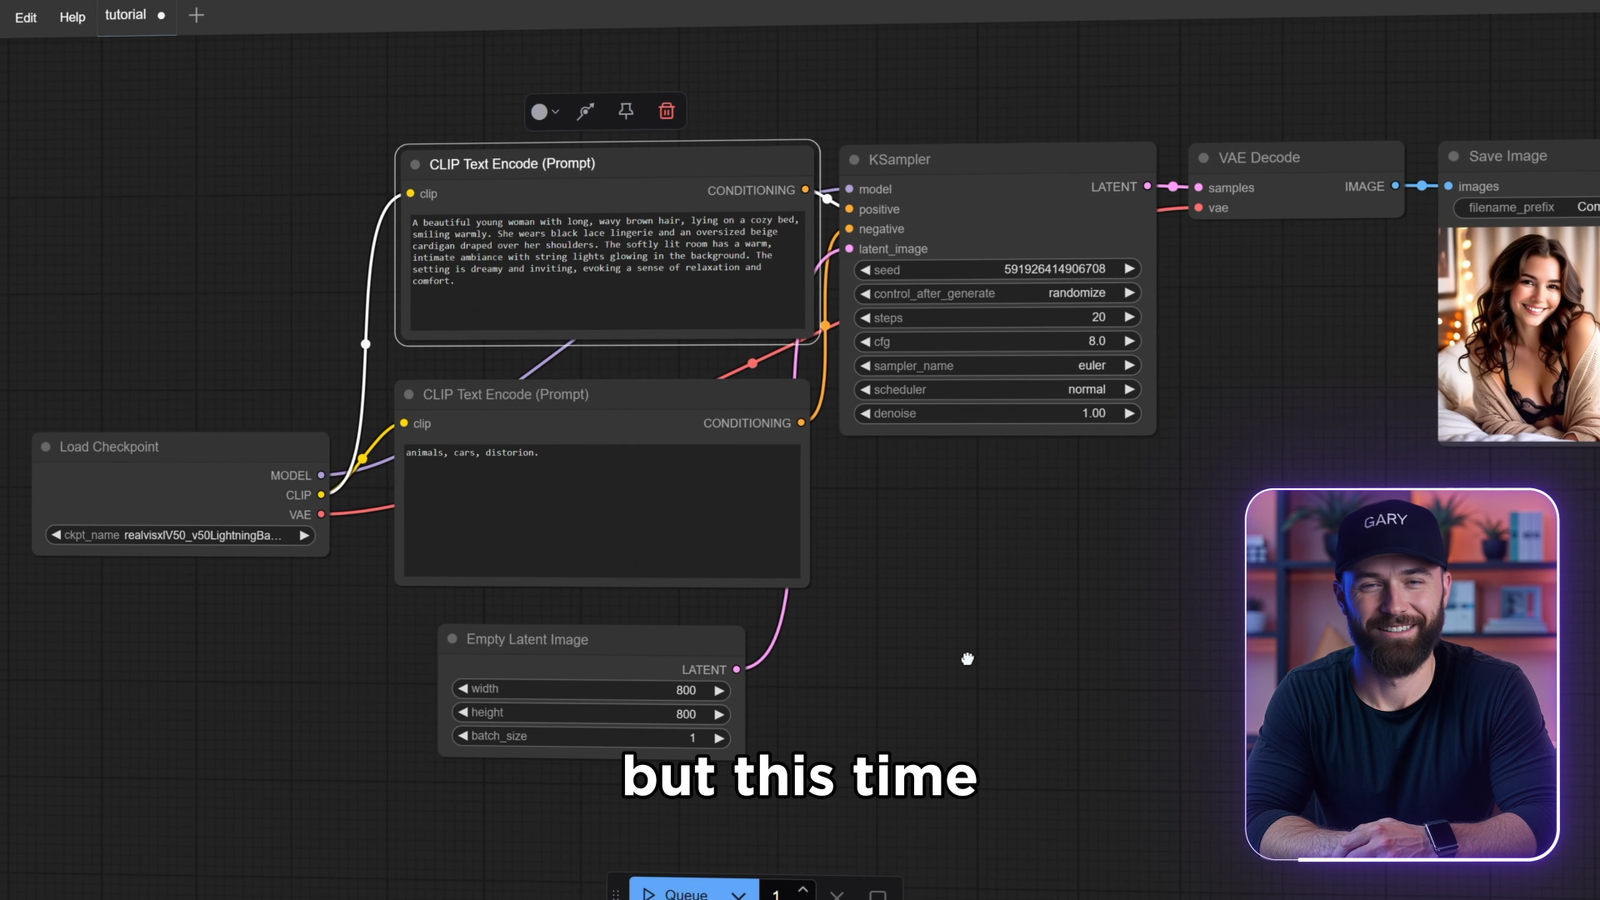
Generating Your First AI Image (Text-to-Image)
Here’s how to generate your first image:
- Select your model in the Load Checkpoint node.
- In the Positive Prompt, type: cssCopyEdit
a medieval knight in heavy armor, standing in a battlefield at dusk, cinematic lighting - In the Negative Prompt, add what you don’t want: CopyEdit
blurry, distorted, animals, cars - Click “Queue Prompt”.
✅ Result: A stunning knight in detailed armor, created entirely from your prompt.
You can change the image size, batch count, or try different prompts to experiment. Try:
sqlCopyEditA detailed portrait of an old man with deep wrinkles and piercing eyes
Or something more creative:
csharpCopyEditA beautiful young woman with long wavy brown hair lying on a cozy bed, smiling warmly
Use your scroll wheel to zoom in/out and drag nodes around to organize your workspace.
💡 Pro Tip: Reuse Image Workflows
Did you know you can drag any image generated with ComfyUI back into the canvas?
If the image has metadata, ComfyUI will automatically recreate the entire workflow that was used to make that image. This lets you study other creators’ work or reuse your own templates easily.
It’s an amazing productivity booster.
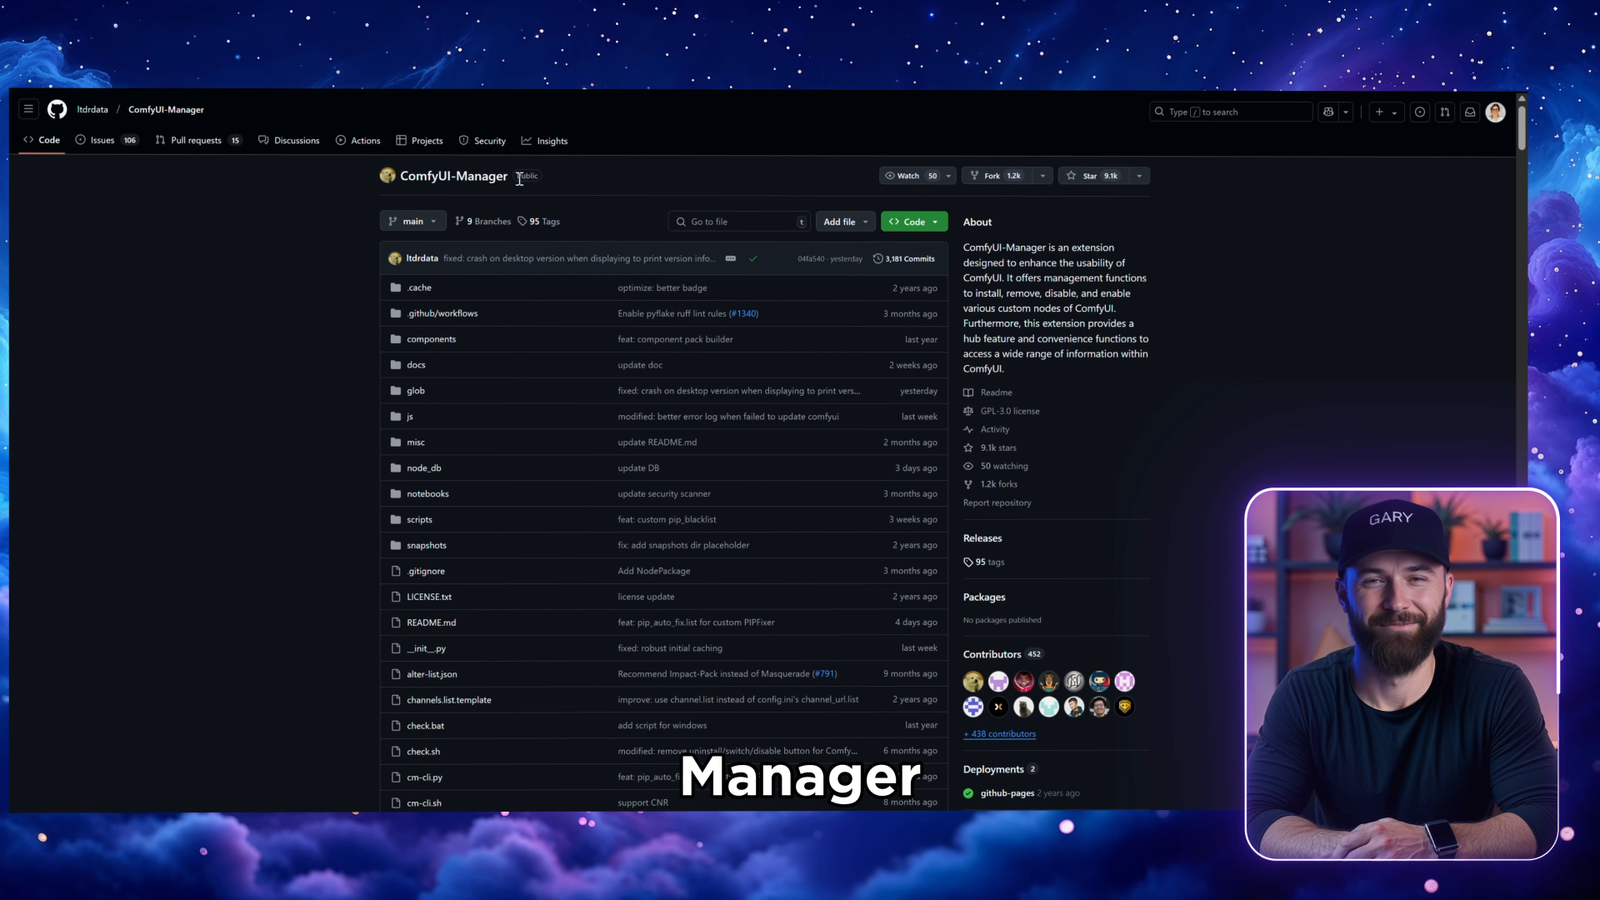
🔧 Installing ComfyUI Manager (Plugins & Tools)
ComfyUI is powerful on its own, but even more so with the ComfyUI Manager plugin.
🧩 Why You Need It:
- One-click install for new models, nodes, extensions
- Auto-detects missing dependencies
- Direct model browsing without leaving ComfyUI
How to Install:
- Go to the ComfyUI Manager GitHub repo.
- Open your
ComfyUI/custom_nodes/folder. - Type
cmdin the folder’s address bar and hit Enter to open Command Prompt. - Paste: bashCopyEdit
git clone https://github.com/ltdrdata/ComfyUI-Manager.git - Restart ComfyUI.
You’ll now see a “Manager” tab. Here, you can browse and install custom nodes or model files.
Upscaling Images in ComfyUI
Want to turn low-res, blurry AI art into high-resolution masterpieces?
Here’s how to upscale an image:
- Generate a 600×600 image using your favorite prompt.
- In the Manager, search for:
Real-ESRGAN4x-UltraSharp
- Install both upscaling models.
- Add the following nodes:
Upscale Model LoaderUpscale Image Using ModelPreview Image
Connect:
- Your image output → Upscale Model Loader → Upscale Image → Preview
💥 Boom! You now have a 2400×2400 sharp, refined version.
⚠️ Pro Tip: For best results, do an image-to-image pass before upscaling to add fine details.
🎨 Image-to-Image Workflow
Want to transform or refine an existing image?
Add an Image Input node → connect it to an Image-to-Image node → choose the same model you used before.
Try prompts like:
sqlCopyEditMake this character smile and wave with her left hand
Image-to-image lets you fine-tune faces, outfits, or backgrounds without starting from scratch.

📁 Bonus: Building Full Animations with Live Portrait & TunCrafter
ComfyUI supports external tools like:
- Live Portrait – Animate still images into talking characters
- TunCrafter – Create anime-style transitions between a start and end frame
These tools take your creations to the next level by adding movement and storytelling to static AI art.

✅ Minimum System Requirements
Despite its flexibility, ComfyUI is resource-friendly. Here’s what you need:
- ✅ CPU: Any recent quad-core processor (AMD Ryzen 5 or Intel i5)
- ✅ RAM: 16GB or more
- ✅ GPU (optional): NVIDIA RTX 20xx+ for faster generations
- ✅ Storage: 20GB+ free space
📌 Final Thoughts
ComfyUI is a game-changer for AI creators, artists, and developers.
✅ It’s open-source
✅ Runs on low-spec machines
✅ Offers full control
✅ Works with image-to-image, text-to-image, upscaling, and animation
✅ Supports extensions for easy workflow improvements
If you’re serious about AI image creation and want total control without paying subscription fees, ComfyUI is the best tool out there.
📌 Don’t forget to subscribe, bookmark, and share this guide with others.
Leave a Reply