
Have you ever watched a realistic AI talking avatar and thought, “How did they make that?” All of the AI avatars featured in my videos were created entirely by me — and yes, completely for free.
In this tutorial, I’ll show you how to create your own AI talking avatar using free tools, so you can bring characters to life with stunning lip-sync animation. Whether you’re a content creator, educator, or storyteller, this guide will walk you through every step — even if you’re just starting out.
What You Need to Get Started
Before we dive into the step-by-step process, let’s quickly go over the essentials.
💻 Minimum System Requirements
To generate AI avatars locally using ComfyUI, you’ll need:
- A GPU with at least 8GB of VRAM
- (I use an RTX 3060 Ti, which costs around $400)
But here’s the good news: you don’t need a powerful GPU to get started.
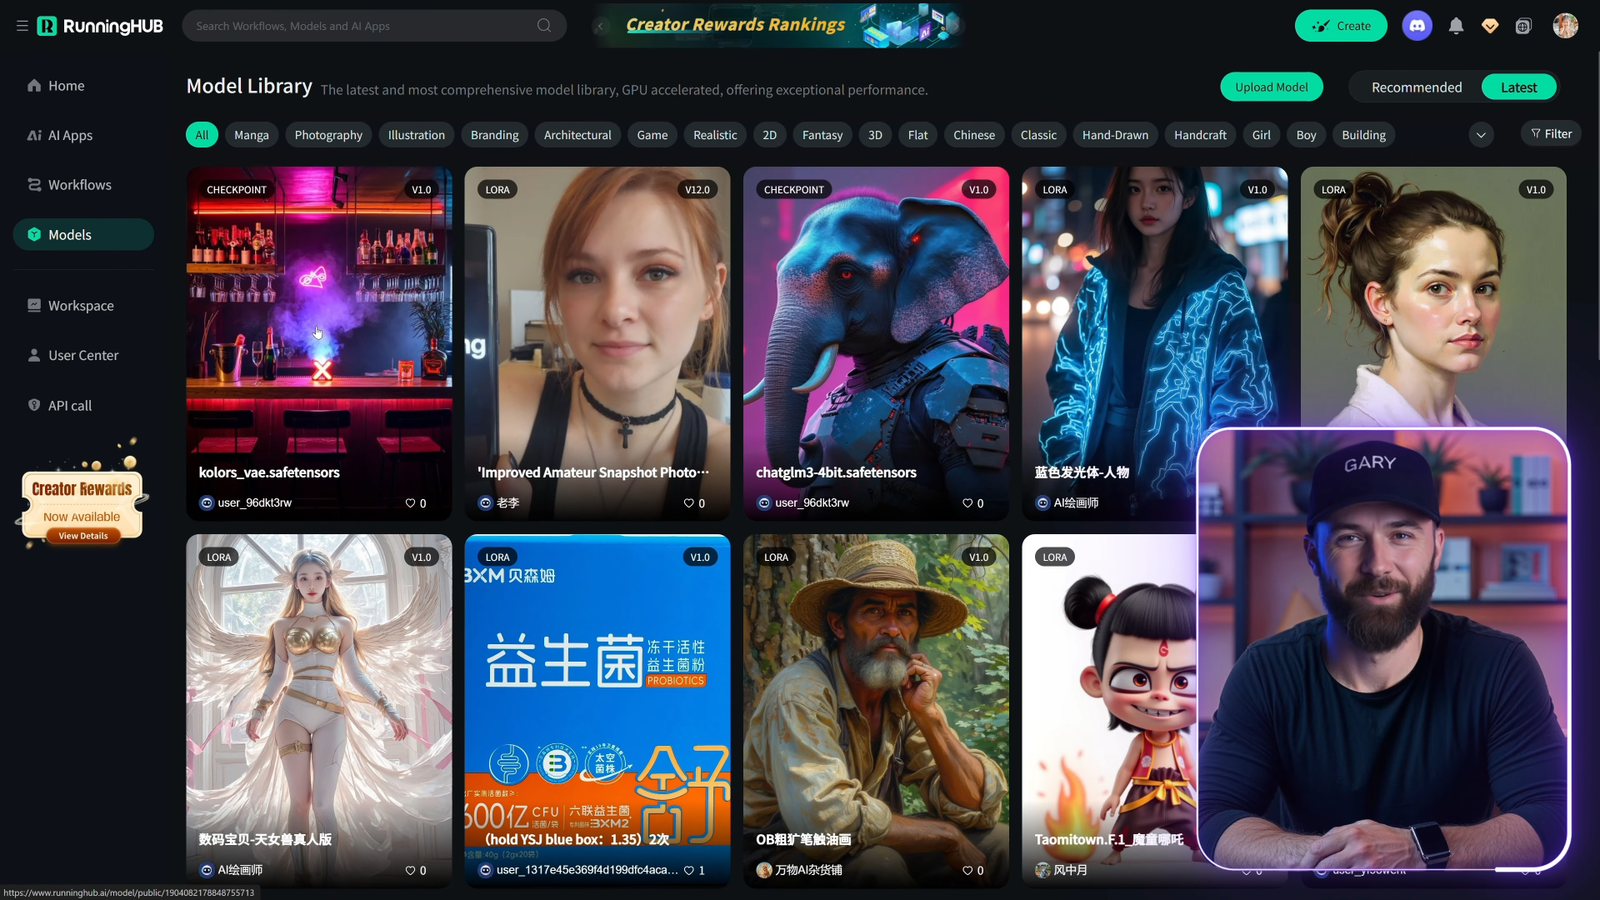
If you don’t own a high-spec PC, you can use RunningHub.ai, a cloud-based GPU rental platform that allows you to run your AI workflows at a very low cost — or even for free with limited usage.
All necessary resource links are included in the video description on my channel and my website, where I’ve posted a full Ultimate Guide (also free).

🛠️ Tools You’ll Be Using
To create your free AI talking avatar, you’ll need:
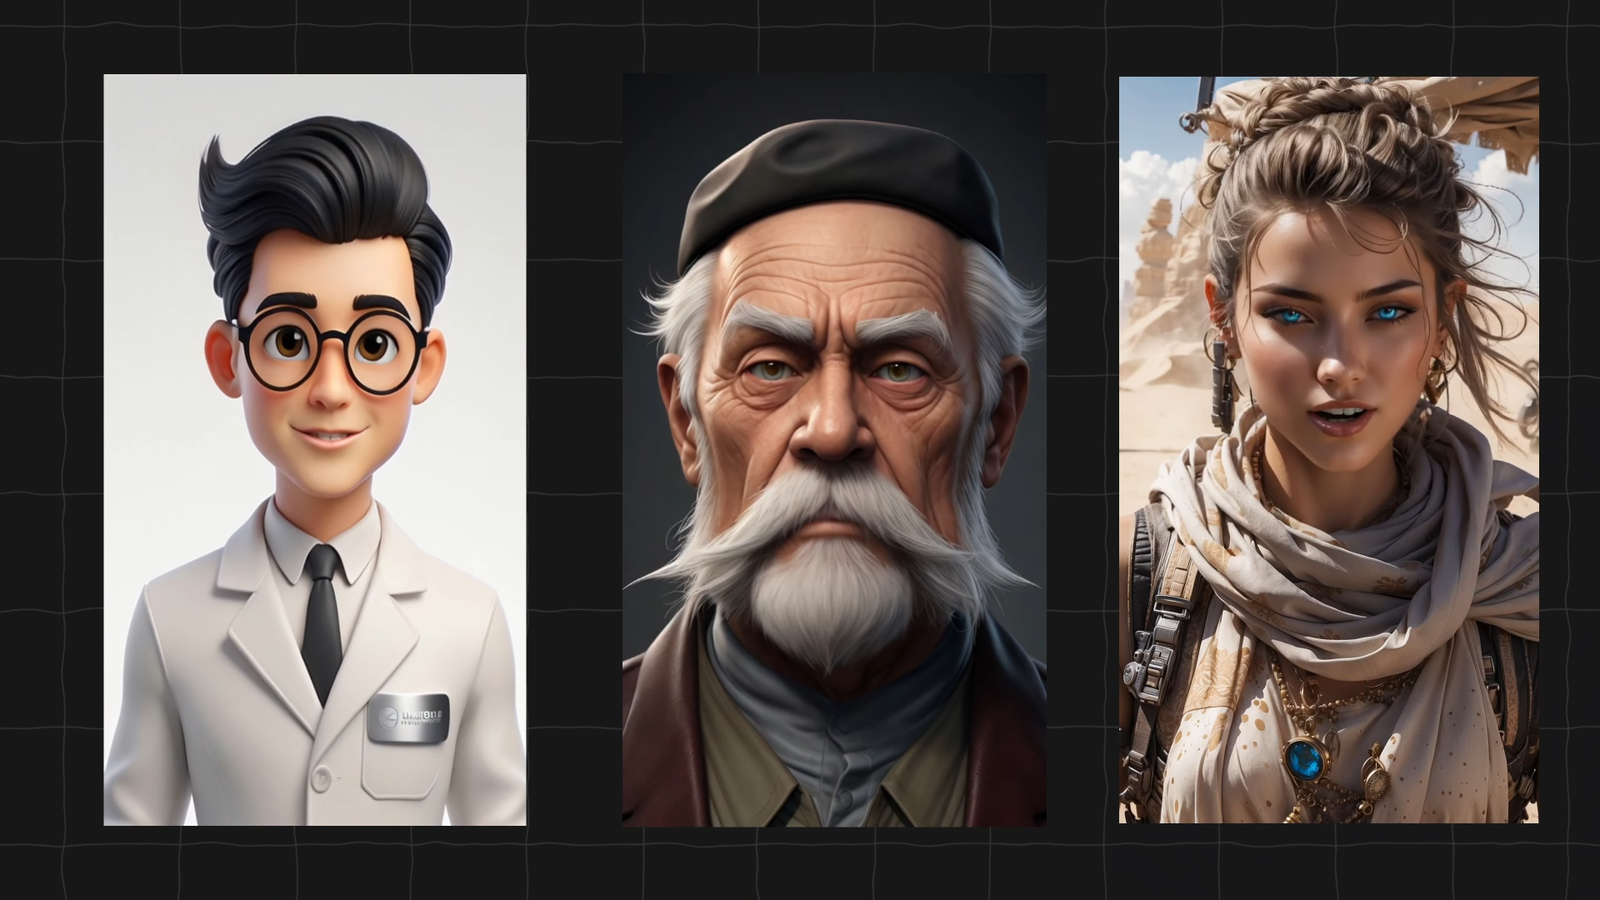
- A character image (clear portrait, forward-facing)
- Voice audio (4–10 seconds long, recorded or AI-generated)
- ComfyUI installed on your PC or cloud service
- Sonic Lip Sync or Live Portrait KJ (open-source models)
In this tutorial, I’ll walk you through Sonic Lip Sync, the more lightweight and beginner-friendly option.
Step 1: Installing ComfyUI
If you haven’t installed ComfyUI yet, check out my full tutorial here — it’s beginner-friendly and only takes a few minutes.
Once it’s installed, you’ll need to download the required models and plugins.
Step 2: Download Materials & Set Up Folders
Here’s how to organize your files properly:
- Place the SVD safe tensors model inside:
/comfyui/models/checkpoints/ - Create a new folder:
/comfyui/models/sonic/
Inside it, add all Sonic Lip Sync-related files and folders (as listed in the tutorial).
If the folder structure doesn’t match exactly, the workflow may not run properly — so double-check everything.
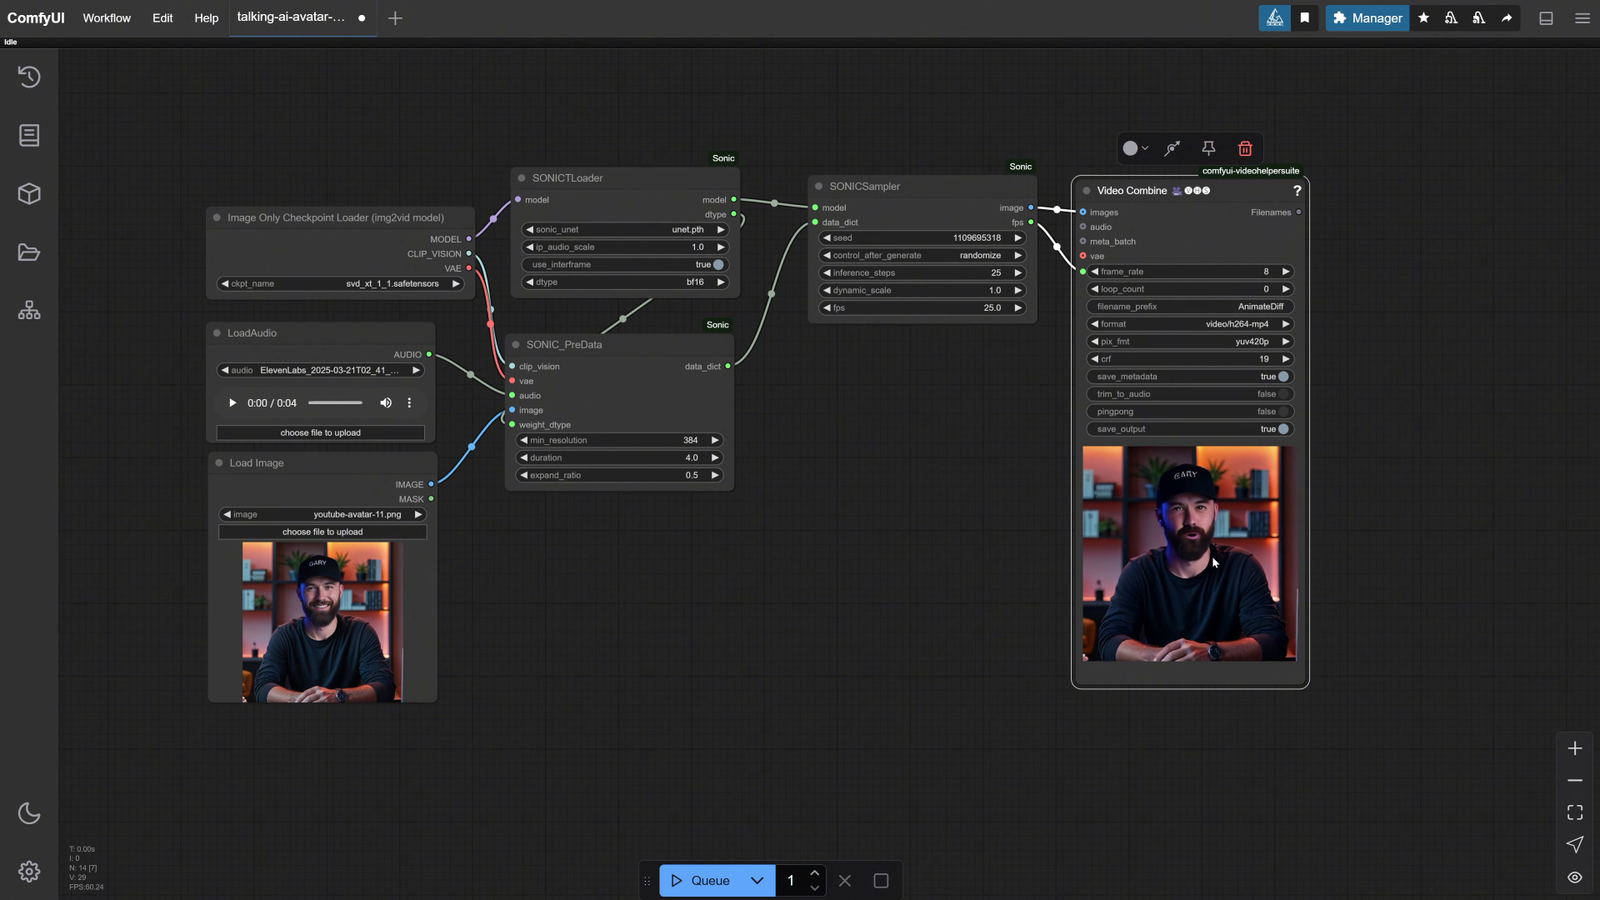
Step 3: Import the Workflow in ComfyUI
Download the workflow .json file from the video description and drag & drop it into your ComfyUI interface. This loads all the nodes and settings automatically — you’re now 90% ready to generate your avatar.
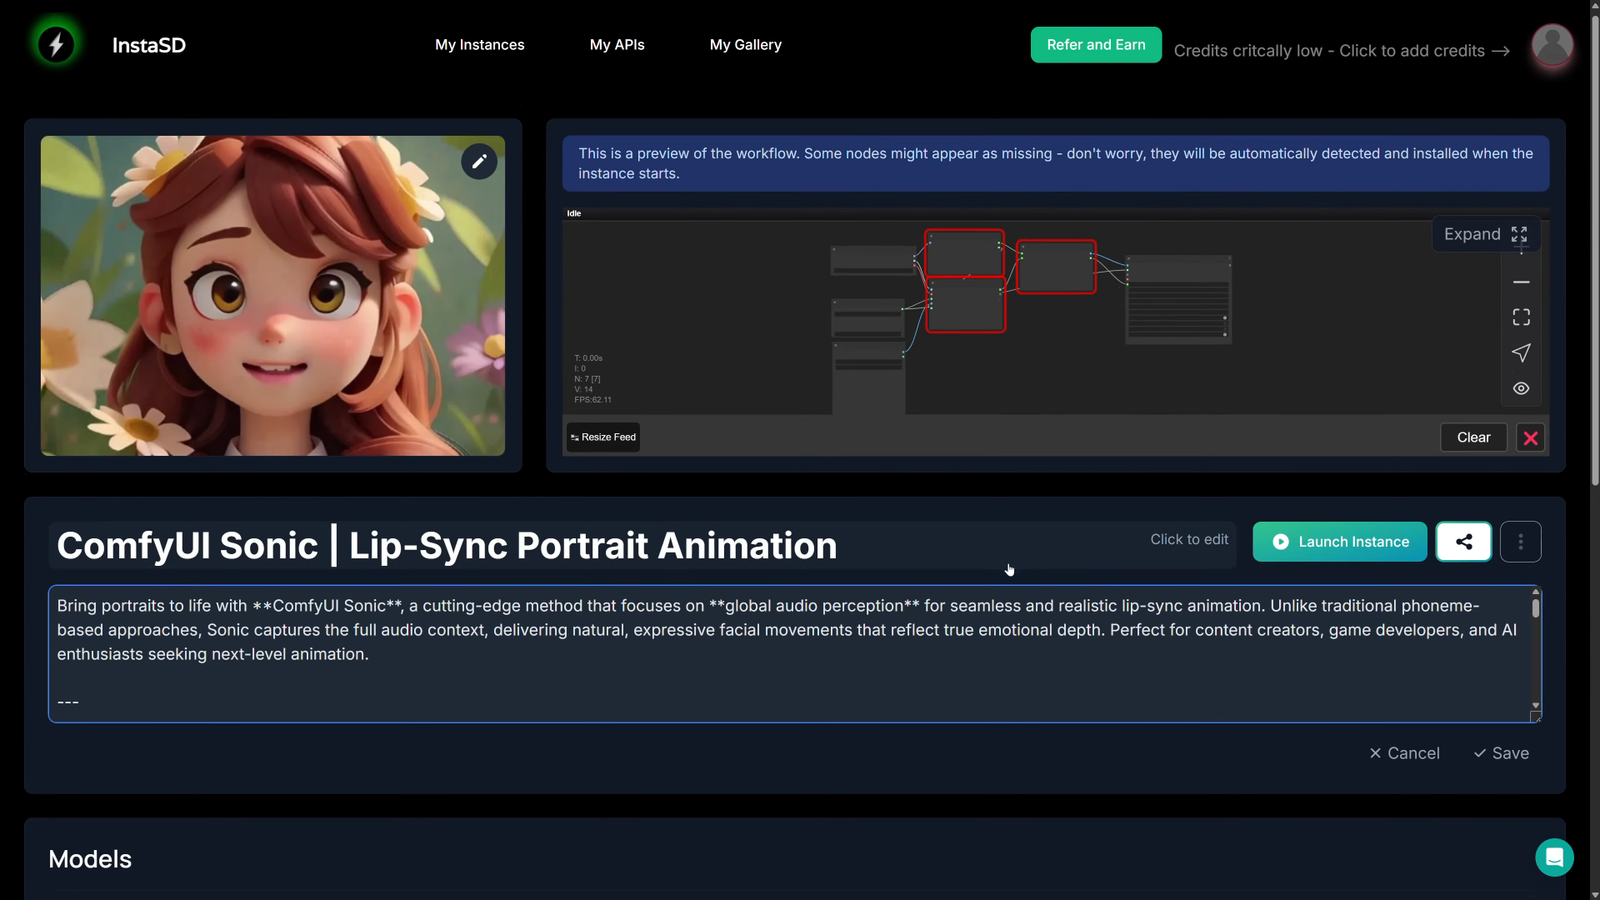
Step 4: Adjust Workflow Settings
Here’s a checklist to configure before generating your AI avatar:
- Checkpoint Loader → Select
vd_safe_tensors - Sonic Loader → Choose
unet.pth - Voice Input → Upload a short MP3/WAV audio (4–10 seconds)
- Avatar Image → Upload a full HD portrait with a clear face
- Video Dimensions → Keep resolution below 800px
- Video Duration → Match the length of your voice clip
⚠️ Warning: Attempting to create videos above 800px will trigger out-of-memory errors unless you’re using a high-end GPU (like an RTX 4090).
Once you’re ready, click “Queue” to start the generation.
🕒 My First Results & Speed Test
Using my RTX 3060 Ti, it took 13+ minutes to generate 10 seconds of video at 384px resolution — not ideal, but it works!
As expected, the quality was relatively poor due to the limited GPU performance. That’s when I switched to RunningHub.ai.
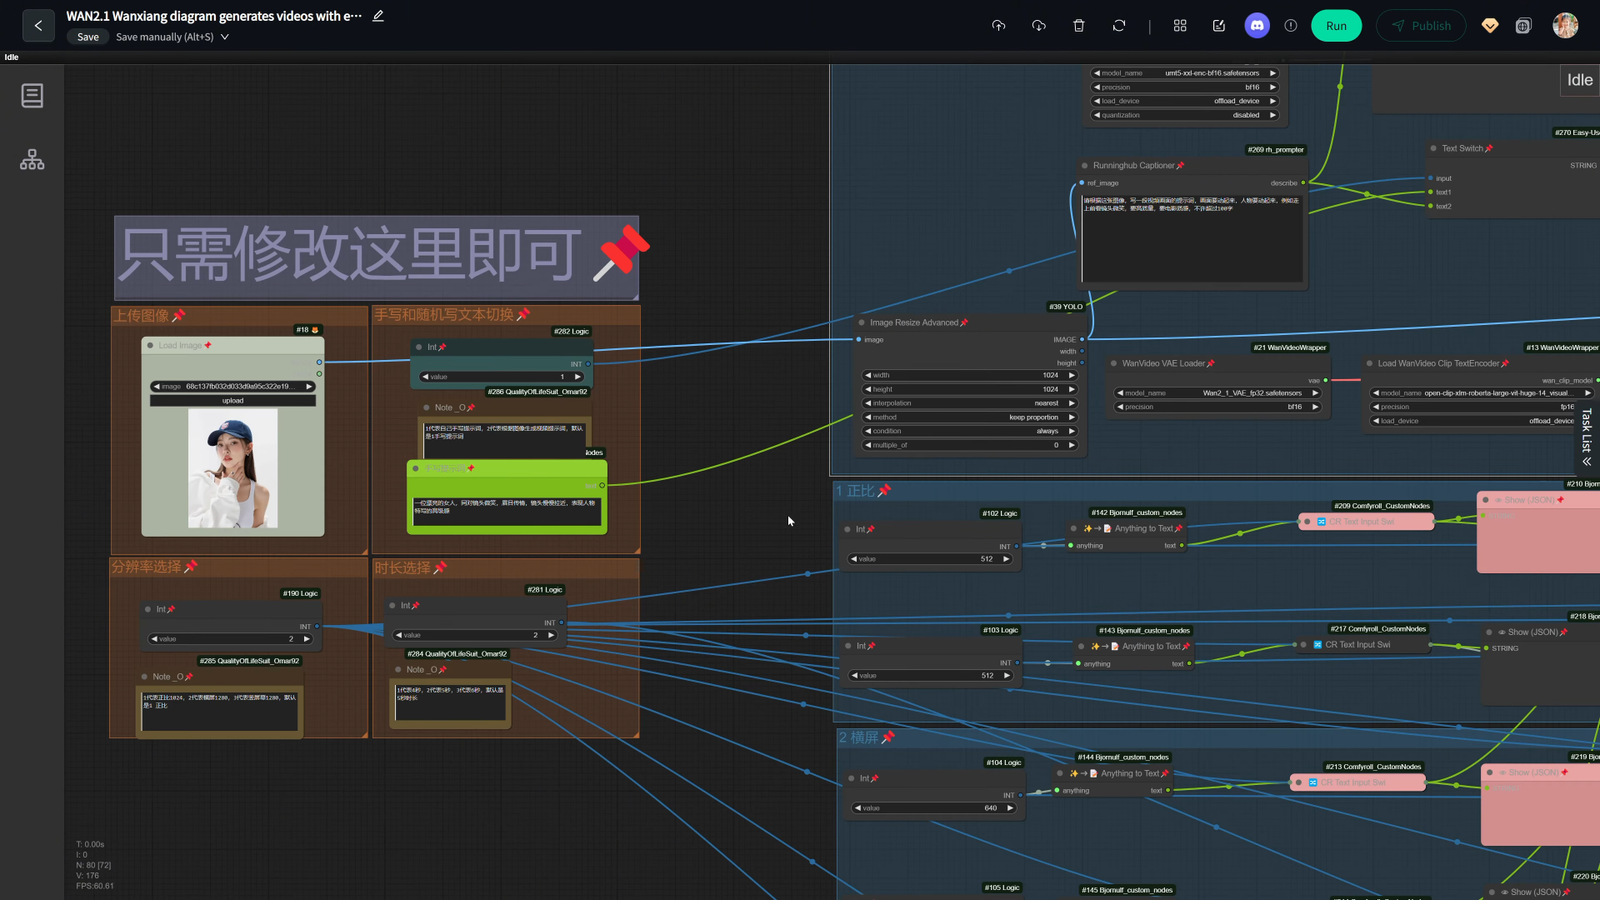
🔄 Using RunningHub.ai for Better Results
RunningHub offers powerful cloud GPUs (like RTX 4090 with 16GB VRAM). I uploaded my workflow and ran the same process — and here’s what I noticed:
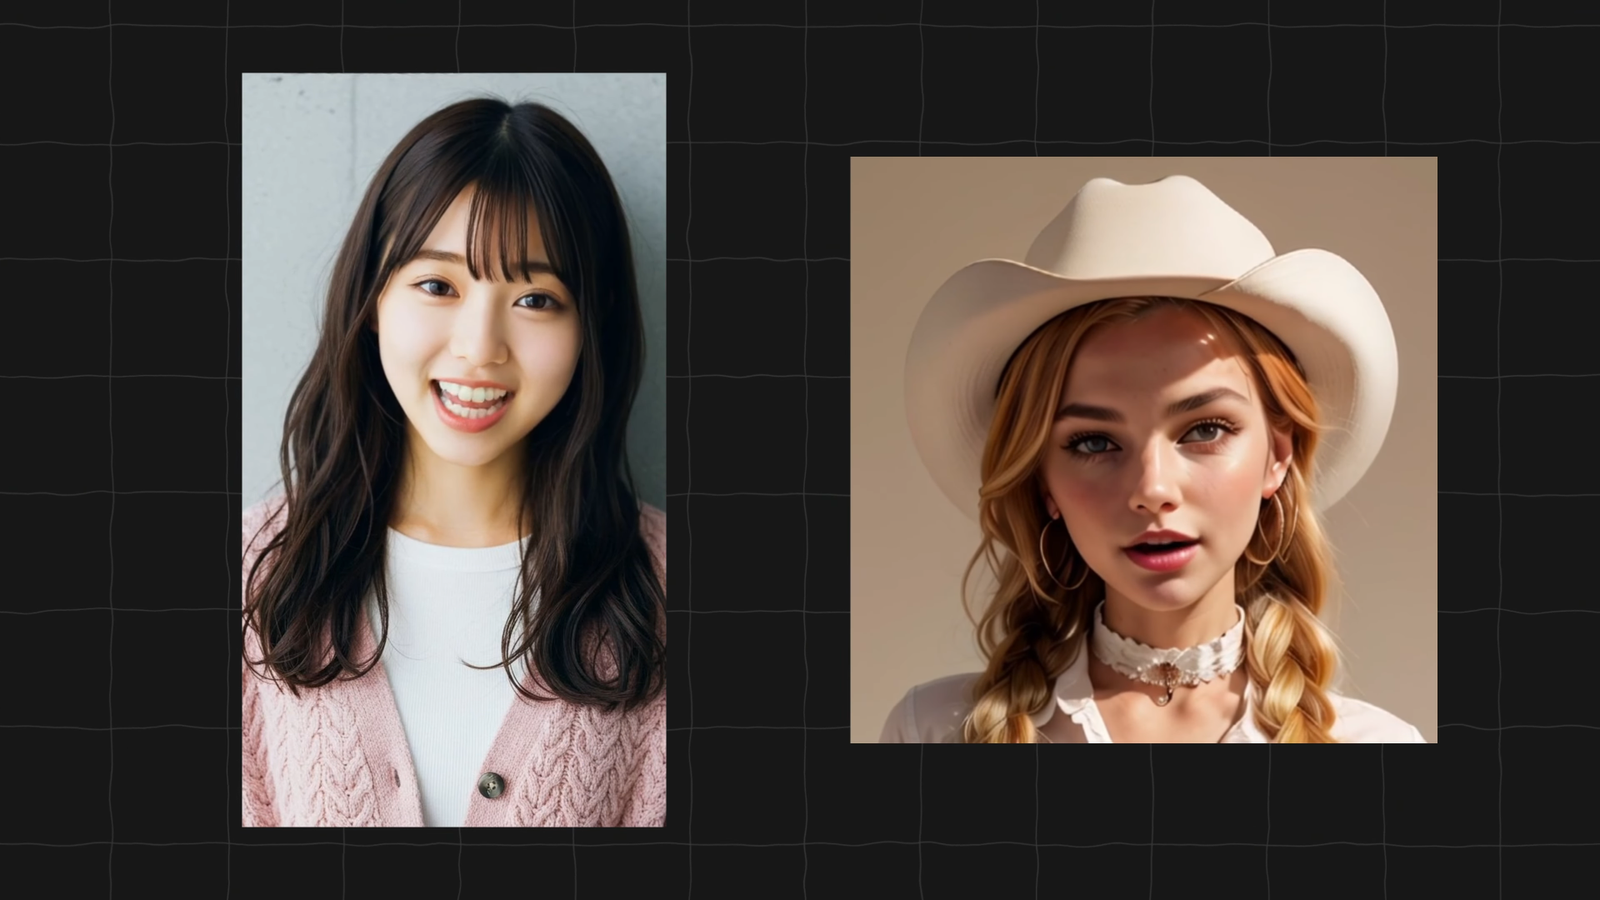
✅ Significantly faster generation
✅ Support for higher resolutions (up to 700px)
✅ Much better image fidelity and lip-sync alignment
⚠️ Even with a powerful GPU, don’t exceed 700px or use long audio files — you’ll still run into memory limitations using open-source tools.
For best results, I added two image resize nodes to my workflow to standardize input image sizes and avoid common errors.

🧠 Pro Tips for Best Results
- Keep audio short (under 10 seconds for better stability)
- Use high-quality images with neutral facial expressions
- Avoid uploading artistic or abstract styles unless stylized avatars are your goal
- Resize input images manually if needed to avoid errors
- Use clear naming and folder structure for ComfyUI to avoid dependency issues
🎙️ Voiceover Tools: ElevenLabs
I used ElevenLabs for generating voice audio — it’s one of the most realistic and customizable AI voice tools on the market.
However, you can use any free voice generator (like PlayHT, TTSMP3, or even record your own voice).

🗣️ Creating the Avatar with DubDub AI
To create talking head avatars, I also recommend DubDub AI — it’s beginner-friendly and highly accurate.
Here’s how to use it:
- Upload a clear avatar image (HD quality)
- Upload your audio script
- Click “Generate”
- Download the result after reviewing the animation
DubDub AI syncs voice to facial expressions extremely well, and it’s ideal for tutorials, explainers, and character stories.
🎬 Final Editing with CapCut
For combining your generated clips, adding effects, music, and transitions, I use CapCut — it’s fast, intuitive, and completely free.
Simply:
- Import your video clip
- Add background music and captions
- Insert transitions and dynamic zooms
- Export at desired resolution for YouTube Shorts, TikTok, or Instagram Reels
🔚 Conclusion
Creating a high-quality AI talking avatar for free is possible — even without expensive tools or a powerful PC.
With ComfyUI, Sonic Lip Sync, ElevenLabs, and DubDub AI, you can bring characters to life in ways that were impossible just a few years ago.
If you’re serious about AI content creation, visit my website for a full 18-minute advanced tutorial and more tools designed to save you time and money.
Thanks for reading — don’t forget to like, subscribe, and hit the bell to stay updated on the latest AI tutorials. 🎥
Leave a Reply