
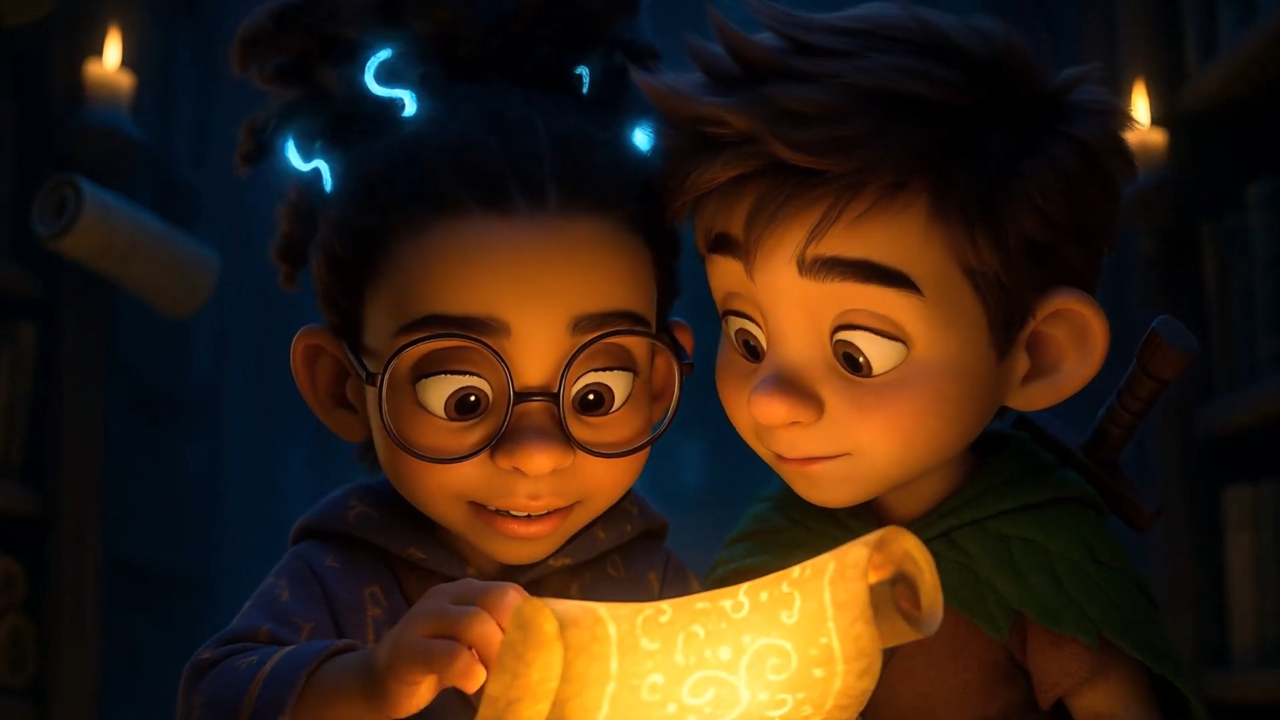
“In the whisper of a rune, in a glow beneath the tree, there’s a spark inside a scroll that sets our magic free.”
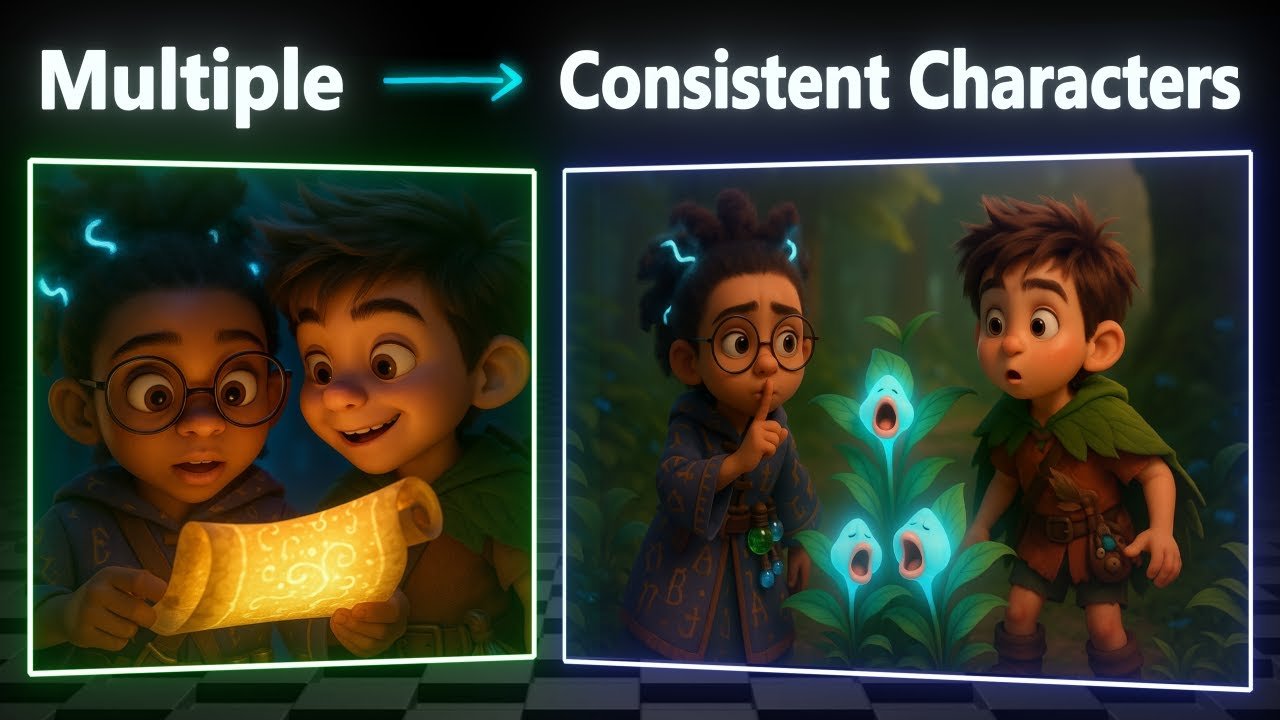
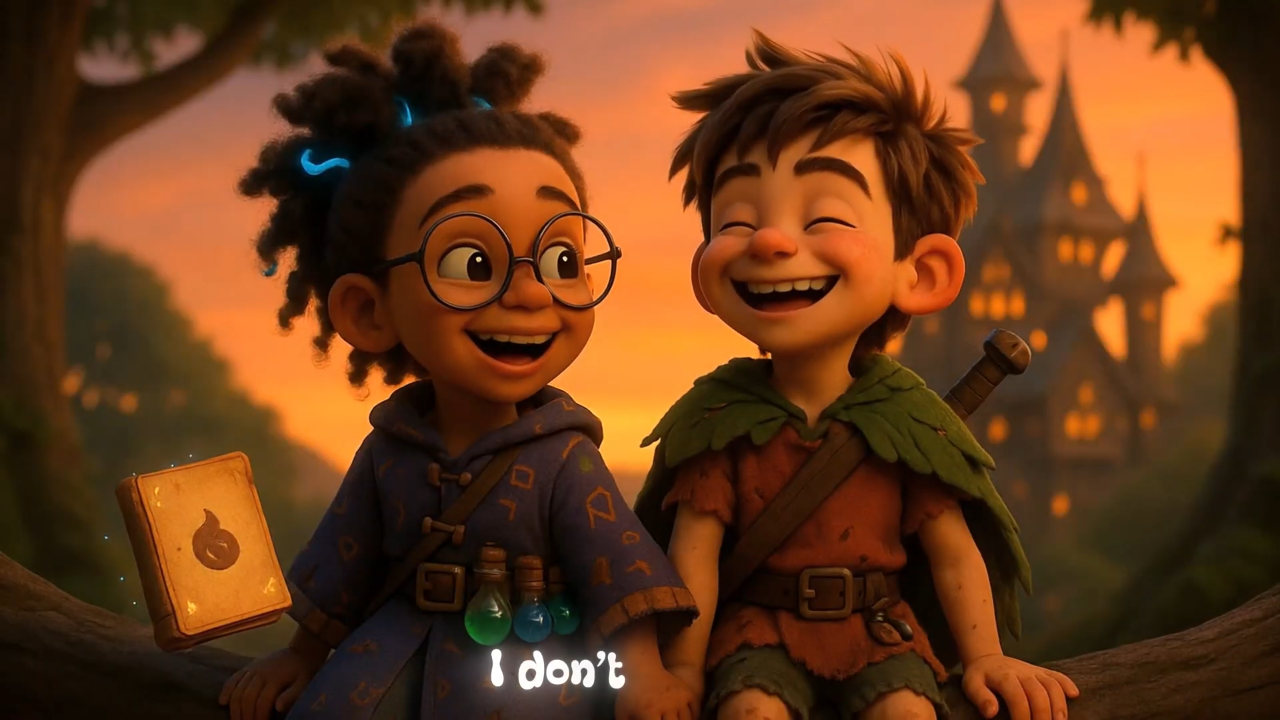
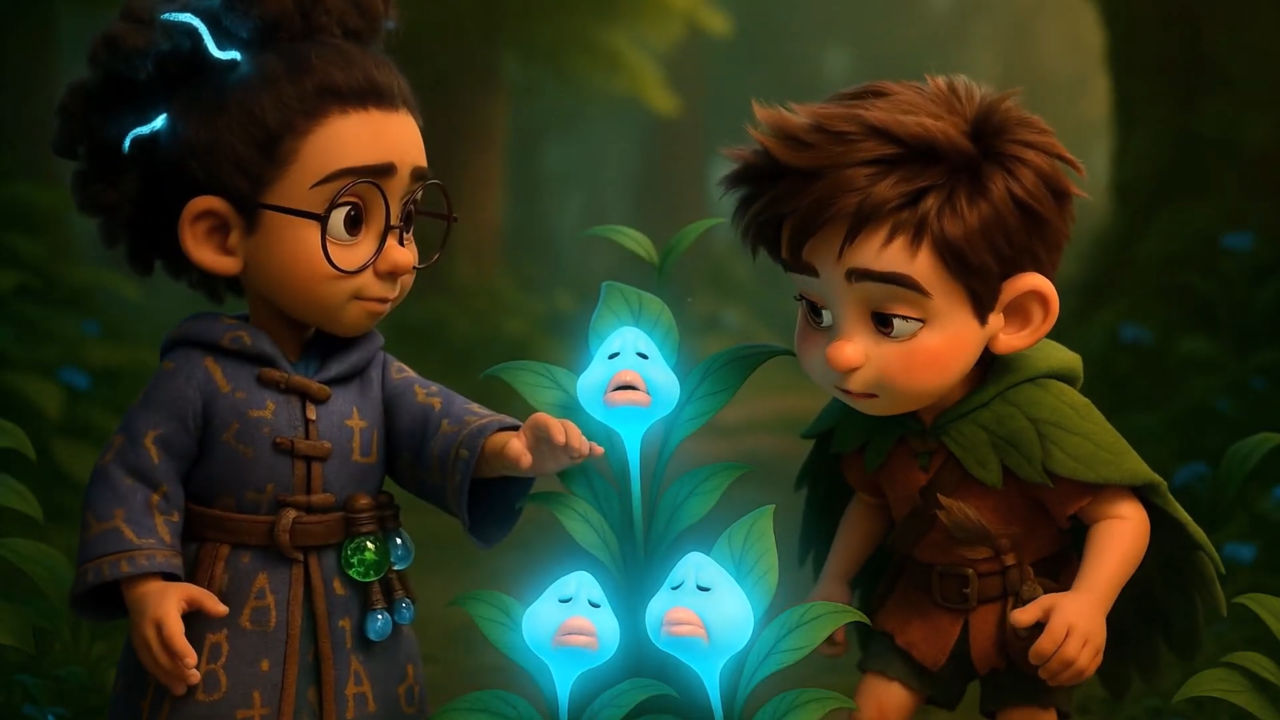
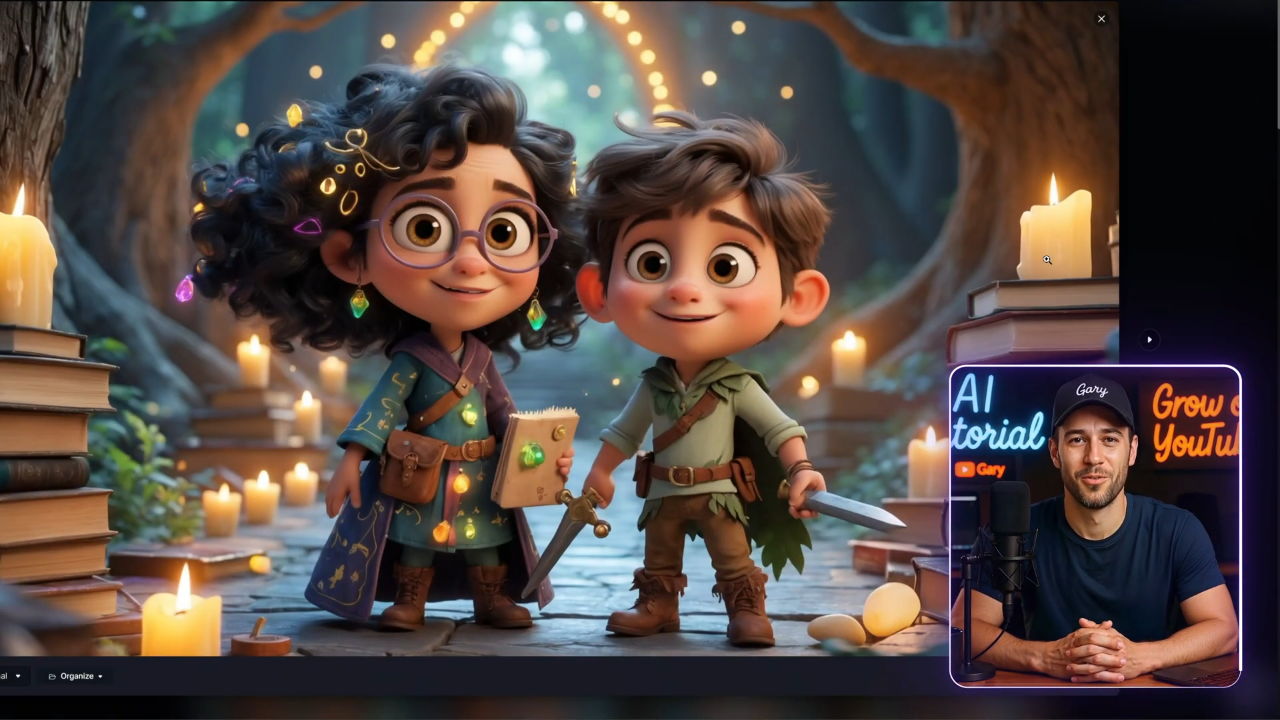
That was the opening line of the animated short film I put together in under an hour. Two characters—Lumi, an eight-year-old girl, and Bran, a seven-year-old boy—appeared in every scene. They weren’t generic or random; they were consistent, expressive, and alive. The backgrounds shifted, the story unfolded, but the characters stayed true to themselves.
The best part? I didn’t spend weeks modeling, animating, or hiring an artist. I used three powerful but cost-effective AI tools—one for text-to-image, one for image-to-video, and one for text-to-music. In this tutorial, I’ll walk you through exactly how I built it, step by step.
Why Consistency Matters More Than Trends
Before we dive in, I want to address a question I see all the time: “Isn’t this niche saturated?”
The truth is—there’s no such thing as a niche that isn’t. Every space gets crowded. What sets creators apart isn’t jumping on the newest trend, it’s developing the skills to turn ideas into polished content over and over again.
If you chase trends without learning the craft, you’ll burn out fast. If you grow your skills—writing better scripts, mastering visuals, producing smoother edits—your videos will stand the test of time.
So, don’t just copy a format. Learn the skillset I’m about to show you.
Step 1: Writing an Engaging Animation Script
Every great animated story starts with a script. For my project, I wanted something playful and magical, with a whimsical tone. I used ChatGPT to generate the foundation with a prompt like this:
“Write a short, cinematic story in a magical, whimsical style. Include two child characters, Lumi (an 8-year-old girl with a glowing book) and Bran (a 7-year-old boy with a wooden sword). Keep it under 100 words but focus on the most dramatic, cinematic part of the story.”
This gave me a powerful, tight script to build from. Once I had the core, I expanded it into 20 scenes by asking ChatGPT:
“Using the script above, create 20 detailed scene prompts for image generation. Each scene must describe both Lumi and Bran in detail so they appear consistently across every shot. Style: 3D Pixar animation. Format: landscape, 16:9.”
This is crucial—by locking in character descriptions early, you prevent the AI from drifting into different designs mid-story.

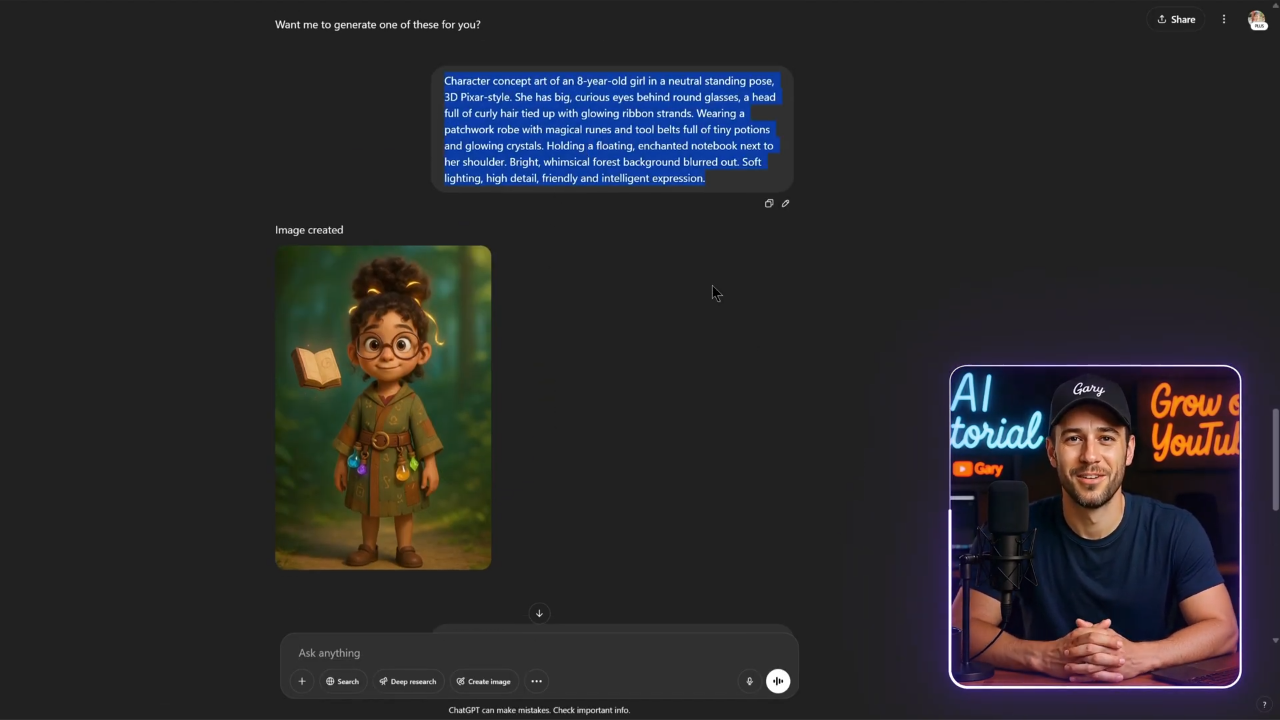
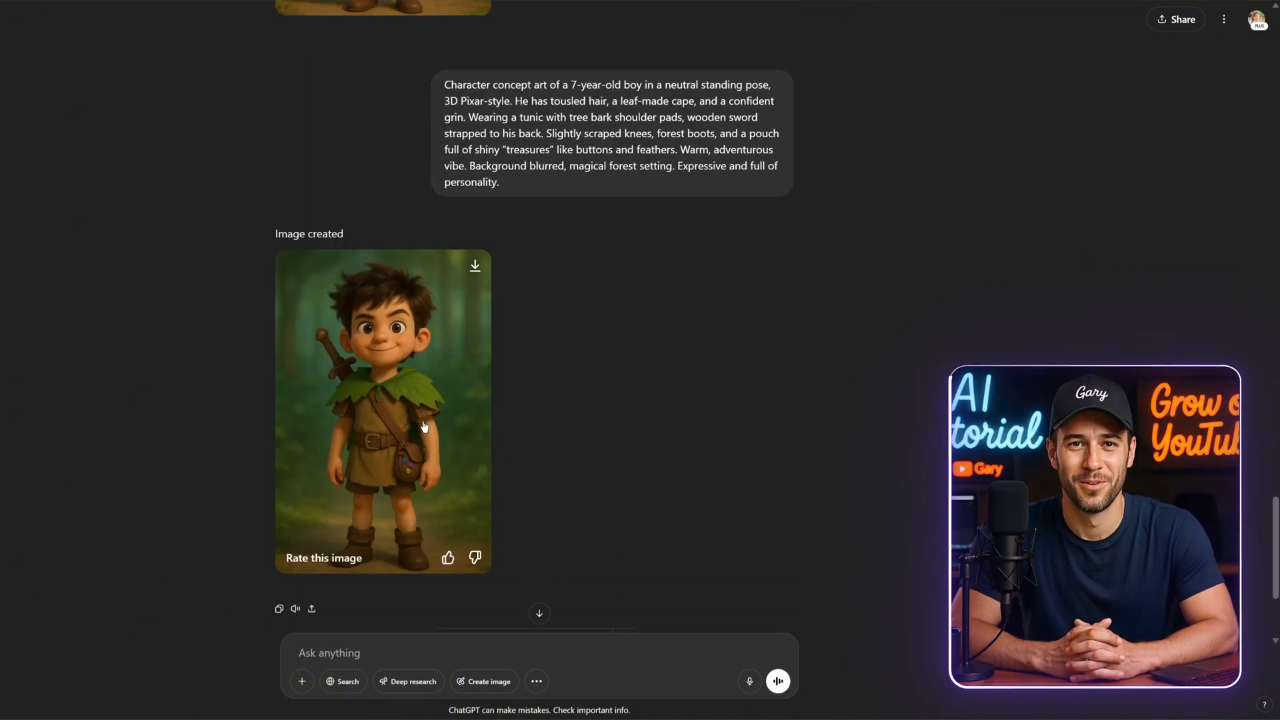
Step 2: Generating Consistent Characters
Before creating full scenes, I needed the base designs for Lumi and Bran. I asked ChatGPT to generate concept art prompts:
“Create a 3D Pixar-style concept art prompt for Lumi, an 8-year-old girl with curious eyes, holding a glowing spellbook. Neutral pose, character sheet style. Landscape format.”
“Create a 3D Pixar-style concept art prompt for Bran, a 7-year-old boy with tousled hair and a wooden sword strapped to his back. Neutral pose, character sheet style. Landscape format.”
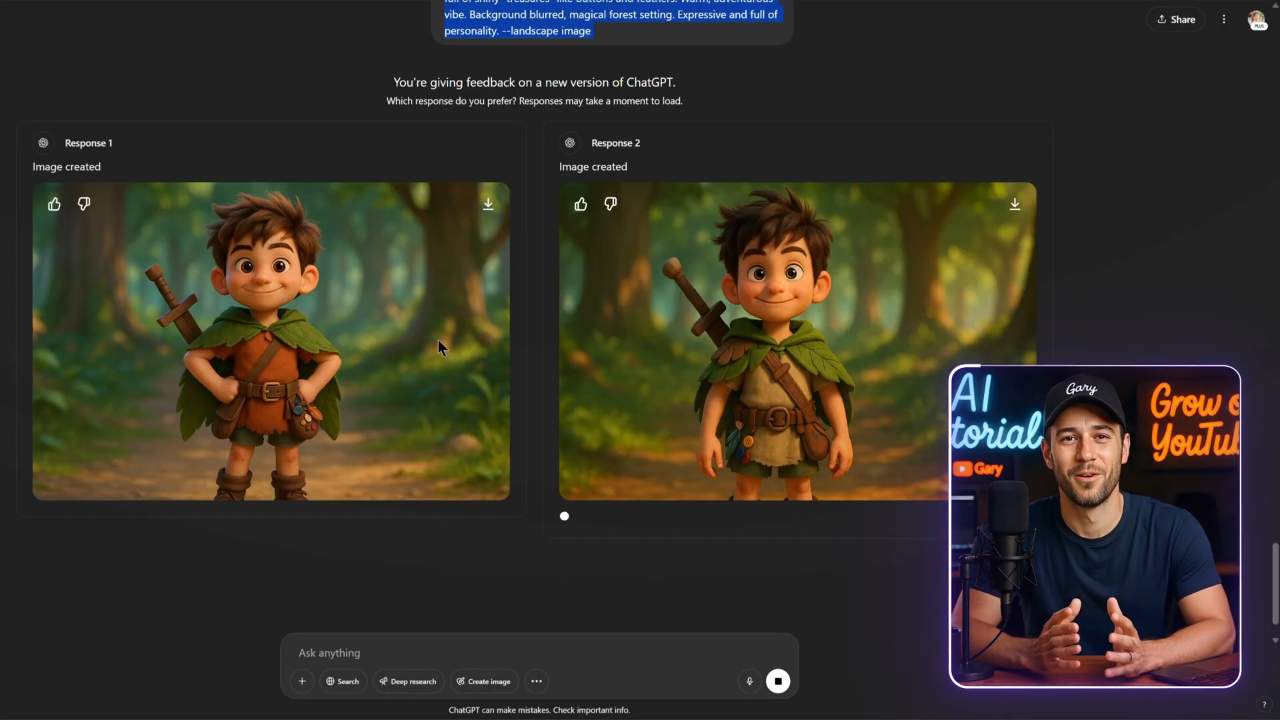
I tested these prompts in both ChatGPT image generation and Leonardo AI.
- ChatGPT often gave me stronger compositions.
- Leonardo AI provided sharper quality.
By combining them (using Image-to-Image in Leonardo, with strength set to 0.5), I got clean, polished character art.
Tip: Always add “landscape, 16:9” to avoid portrait outputs.
Step 3: Expanding into Cinematic Scenes
Once the characters were set, I generated full scenes based on the script. For example:
- “Scene 1: Lumi stands beneath a glowing tree, holding her spellbook. Bran watches curiously from behind her. Pixar-style, cinematic lighting, landscape 16:9.”
- “Scene 2: Bran raises his wooden sword defiantly as sparks from Lumi’s book swirl around them. Close-up, dramatic angle.”
Because ChatGPT had already defined character consistency, every prompt carried over their designs without breaking continuity.
Step 4: Automating Image Generation
Here’s where things get fun. By default, ChatGPT only generates one image at a time. But with automation, you can scale.
Using the ChatGPT API and a simple Python script, you can:
- Feed in all 20 prompts.
- Run the script overnight.
- Wake up to a full batch of images ready to animate.
On a standard free tier, you can generate up to 200 images per day per account. That’s enough for multiple shorts or a longer film.
And yes, I’ll provide the script to community members so you don’t have to pay for third-party bulk tools.
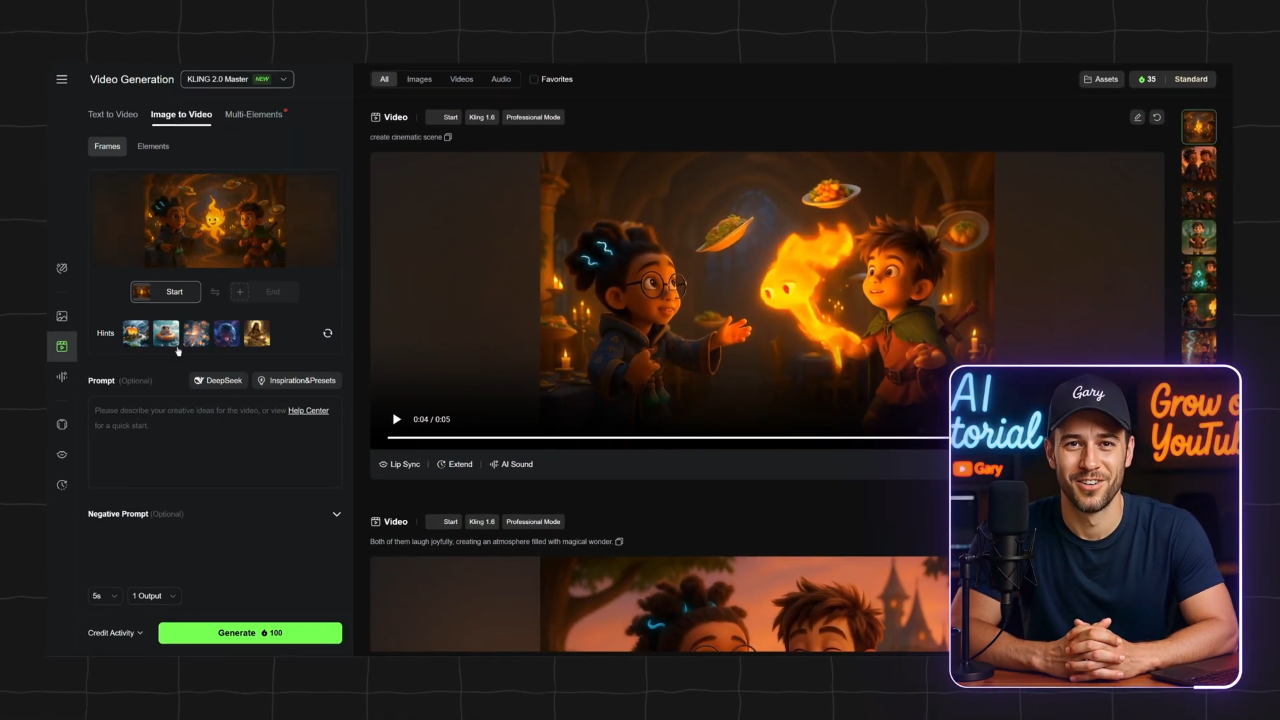
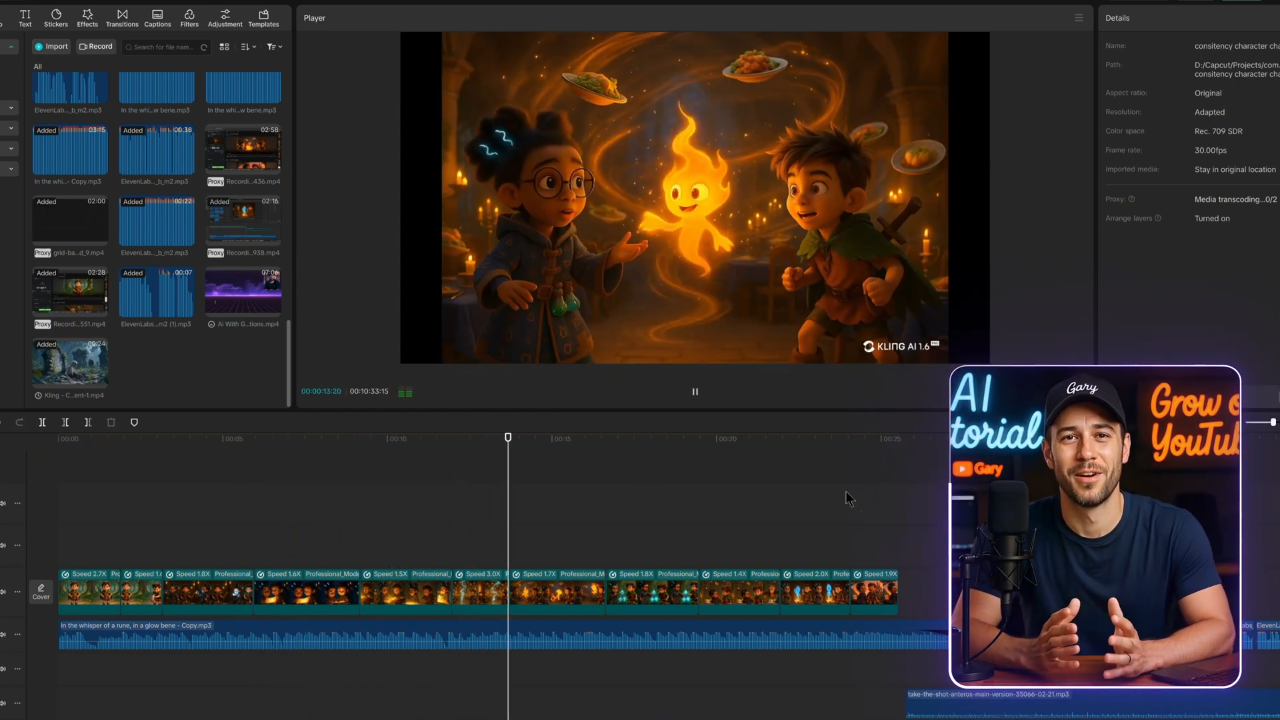
Step 5: Animating Images into Video
Images are nice, but motion brings the magic alive. For this, I used Kling AI.
- Upload your generated image as the first frame.
- Add a descriptive prompt for the movement. Example: “The boy draws his sword and steps forward. The camera zooms out slightly, cinematic angle.”
The results vary depending on how complex the motion is. For subtle movements—like fire flickering, a book glowing, or a head turning—Kling works beautifully. For more complex body actions, it sometimes struggles, but even then you can retry until you get a usable clip.
🔥 Bonus: Kling AI is excellent with elemental effects like smoke, fire, and magic bursts.
Step 6: Adding Voiceover and Music
For narration, I went back to 11 Labs. Default voices are fine, but to stand out I recommend using the Voice Design feature. My go-to prompt is:
“An old British male voice, raspy yet calm, professional but whimsical, like a storyteller.”
Paste your script, generate the speech, then clean it up in Audacity:
- Use Truncate Silence to remove dead space.
- Normalize to –14 LUFS (YouTube standard).
For music, I used an AI text-to-music generator. My prompt was:
“Whimsical orchestral soundtrack with soft strings, gentle piano, and light chimes. Magical, playful, cinematic.”
The result tied everything together into a proper short film.
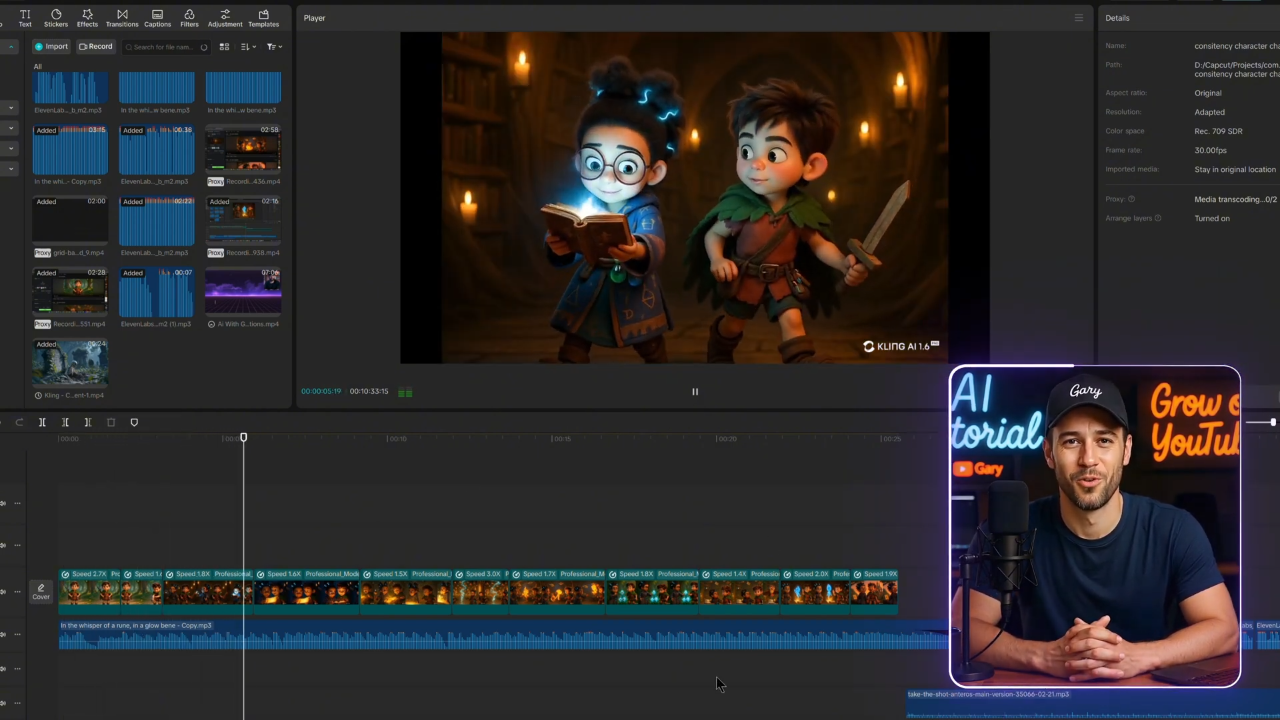
Step 7: Editing the Final Video
Finally, I stitched it all together in CapCut:
- Narration on the first audio track.
- Background music softly underneath.
- Animated clips layered in sequence.
- Subtle zooms and transitions to keep motion flowing.
- Captions with clean fonts (I used Montserrat) for readability.
Total editing time? Under an hour.
Key Takeaways
- Character consistency is everything. Lock in your designs early and carry them across every scene.
- Automation saves time. Use Python + ChatGPT API to batch-generate images.
- Less is more with animation prompts. Stick to subtle, cinematic movements.
- Focus on skills, not trends. A magical short today, a sci-fi one tomorrow—the workflow stays the same.
- Simplicity wins. With narration, music, and AI-generated visuals, you can create a polished short film without showing your face or spending weeks animating.
Closing Thoughts
When I started this project, I wasn’t aiming to “go viral.” I simply wanted to see if I could create a whimsical animated short with AI. And in less than an hour, Lumi and Bran came to life on screen.
If you’ve been hesitant to try AI animation because it feels overwhelming—don’t be. Start small. Write a 100-word script. Generate two characters. Create three scenes. Stitch them together.
From there, the possibilities are endless. Whether you want to build a YouTube channel, share short films on TikTok, or just explore storytelling, the tools are now at your fingertips.
And remember—the real magic isn’t in the AI. It’s in how you use it to tell stories only you can tell.